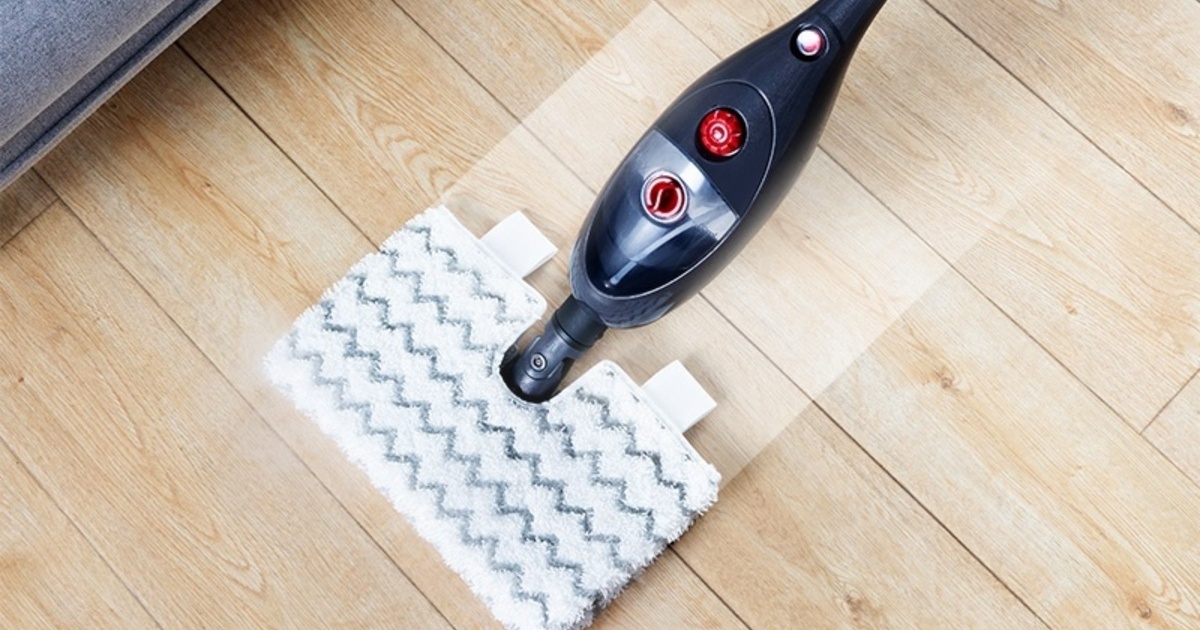
Steam mops, including hardwood, tile, and laminate, are highly efficient tools for cleaning the floor. They generate steam by heating the water inside the room and then release the steam through microfiber pads connected to the mop head. Thanks to the heat and moisture from the steam, these mops can lift dirt, grime, and germs from surfaces with relative ease. They are widely popular due to their environmental friendliness, as they only require water to function and do not require the harsh chemicals commonly used in traditional floor cleaning.
Using a steam mop correctly ensures that your floors stay clean and look their best while keeping maintenance simple and efficient. The proper technique involves attaching a mop pad to the steam cleaner’s foot, filling the water reservoir, and powering it up according to the manufacturer’s instructions. It’s crucial to keep the steam mop in constant motion to avoid damage to the flooring or buildup in one spot. Additionally, knowing when to change the mop pad during the cleaning process is essential to avoid spreading dirt around the floor.
What is a Steam Mop?
A steam mop is a highly efficient cleaning tool that uses heat and steam to clean floors, killing bacteria and dust mites without chemicals. Steam mops work by heating water in an internal reservoir to nearly 250 degrees Fahrenheit and sending a jet of steam down into a mop pad on the mop’s head. The mop pad absorbs dirt, and the heat of the steam kills most of the bacteria on the floor.
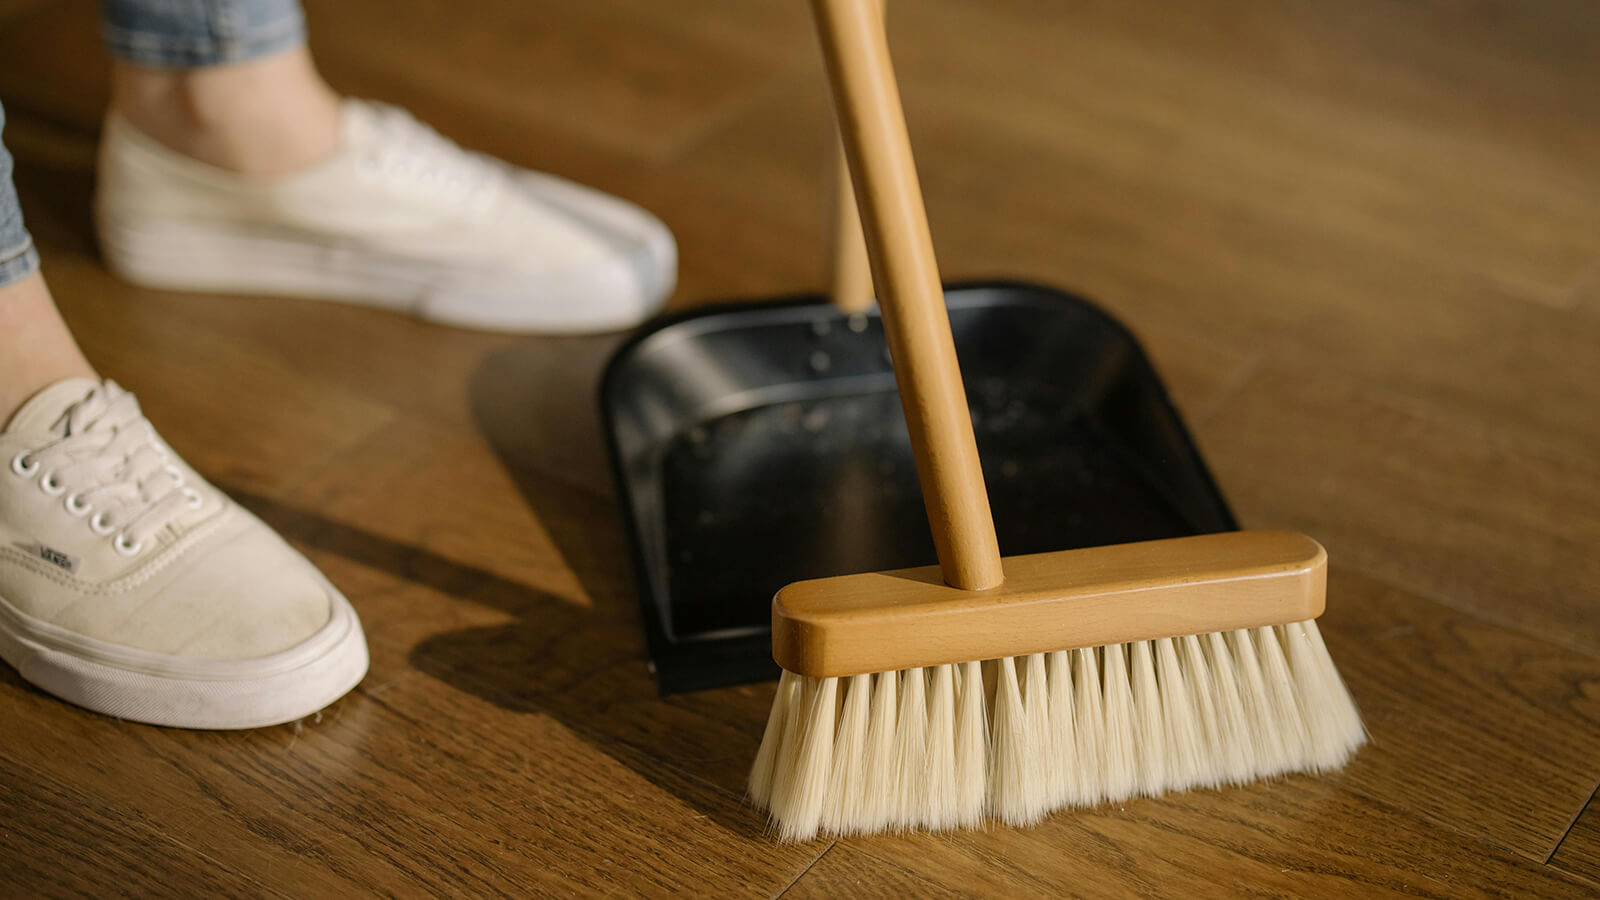
Before using your steam mop, it is essential to sweep or vacuum the floor to pick up dirt, dust, and other debris. Using a steam mop on a dirty floor can turn the dirt into mud and spread it across your floor, defeating the purpose of using the mop in the first place.
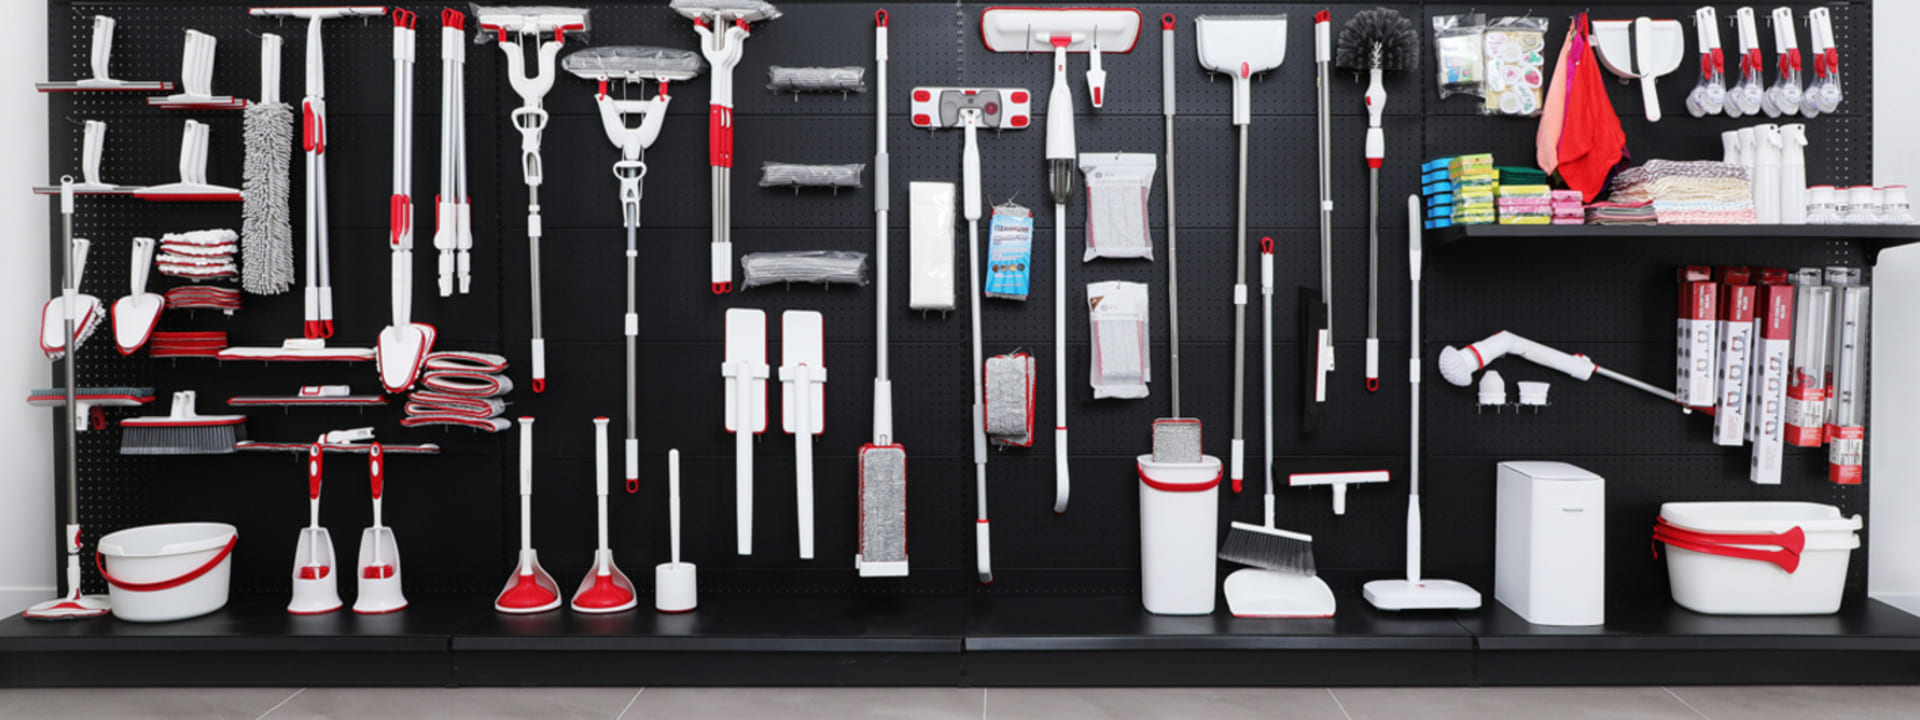
There are various types of steam mops to choose from, such as simple floor steam mop cleaners, which can be used for daily cleaning and are very suitable for medium surface areas such as corridors, kitchens, and bedrooms. Corded or cordless options are available, offering increased mobility and convenience.
When using a steam mop, remember that it is not suitable for all floor types. Steam mops can damage unsealed wood floors, as well as any floors in poor condition or with damaged sealants. Always check the manufacturer’s recommendations for your specific flooring type before using a steam mop.
Keep in mind that the mop pads need to be changed regularly, and you should never mix cleaning chemicals with the water in the reservoir. Always use distilled water in your steam mop to minimize the buildup of minerals and prolong the life of your appliance. When done, empty any remaining water from the reservoir and allow the mop to cool down before storing it away. Following these guidelines will ensure you use your steam mop effectively and maintain its longevity.

How to Assemble a Steam Mop?
Before using a steam mop, it is essential to assemble it correctly. Begin by attaching the handle to the body of the steam mop. Slide the handle into the opening on the mop, ensuring to push it past the line on the handle. Keep pushing until you hear or feel the handle click into place. On some models, there might be a large attachment screw that holds the handle in place.
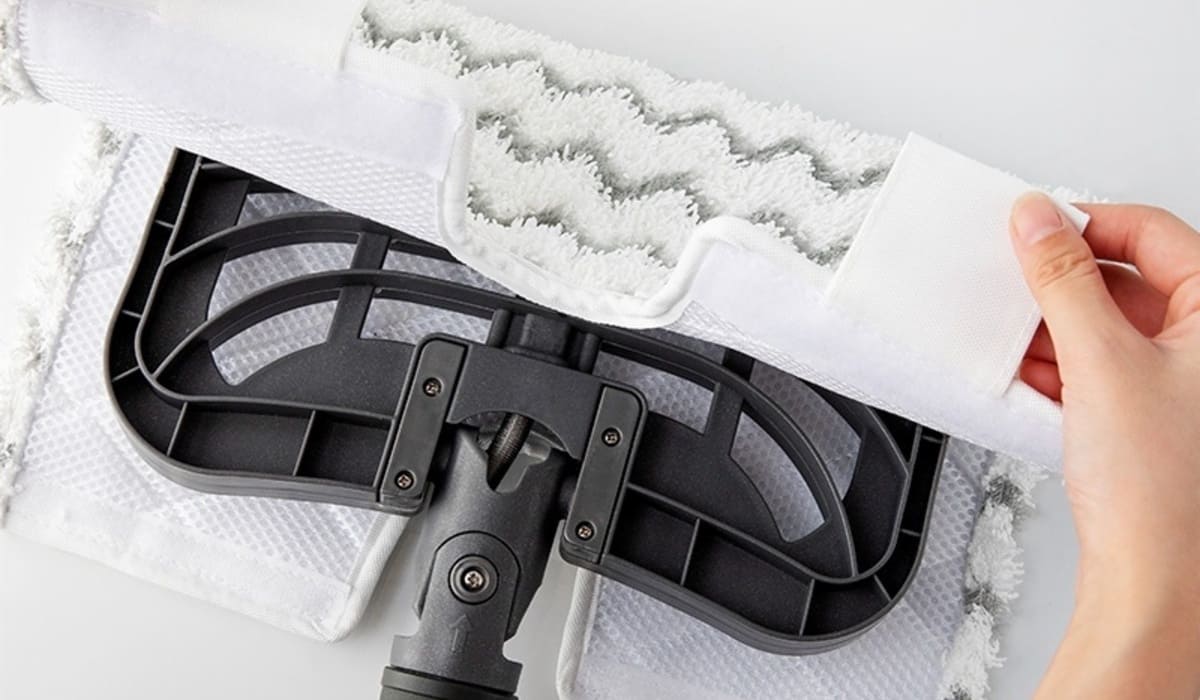
After connecting the handle, continue to connect the mop head to the main body of the steam mop. Make sure to align the mop head with the steam mop’s connector, and then push it firmly until it clicks into place. Many steam mops have a reusable microfiber cleaning pad or a disposable cleaning pad that attaches to the mop head. To attach the cleaning pad, lay it on the floor with the fastener side up, then place the mop head onto the pad, ensuring that the fasteners hold the pad securely.
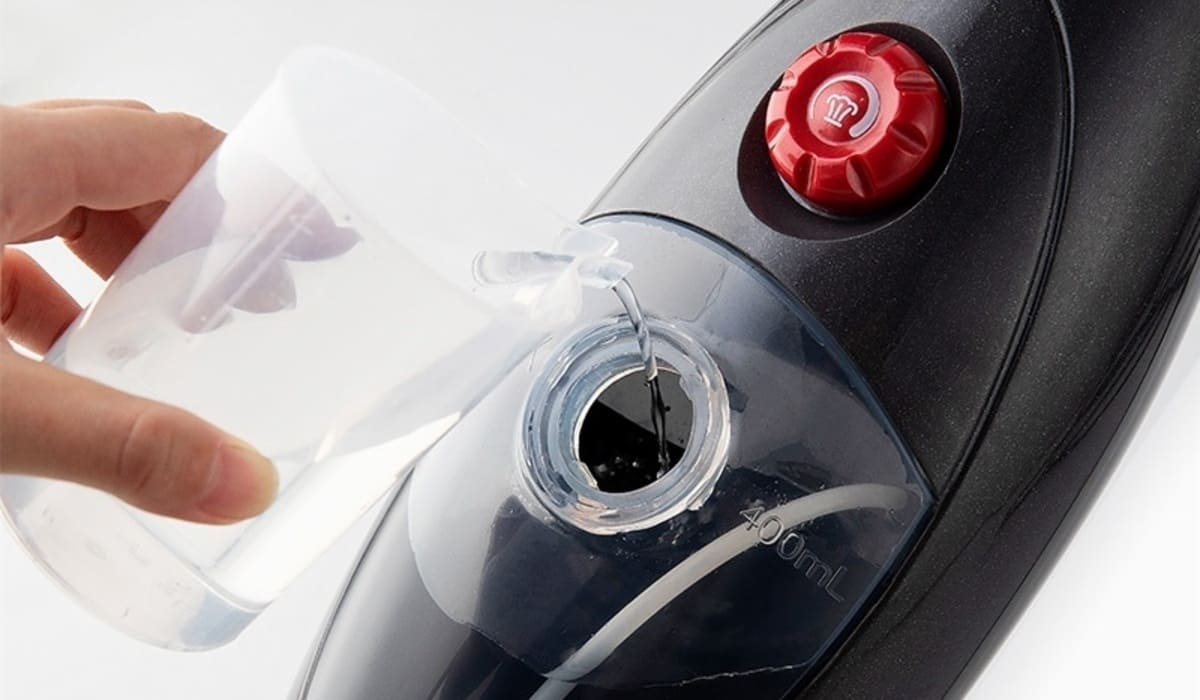
Now that your steam mop is assembled, it is time to fill the water tank with distilled or demineralized water. Using tap water may cause limescale buildup and affect the performance of the steam mop. Locate the water tank and remove the cap, then fill the tank with water using a funnel or measuring cup, up to the recommended line marked on the tank. Once filled, tightly close the cap to prevent any leaks during usage.
With the steam mop assembled and filled with water, plug it into a power outlet and let it heat up for about 30 seconds to a minute. The power light on your steam mop should illuminate to indicate that the mop is ready to use.
Clean Debris Before Mopping
Before using a steam mop, it is essential to prepare the surface properly. Start by sweeping or vacuuming the floor to remove dirt, dust, and debris, which will help prevent the steam from turning dirt into mud and spreading it over the floor.
Next, inspect the floor type and condition. Different floor materials require specific care, so ensure your steam mop is suited for your flooring. For example, some steam mops are suitable for use on hardwood floors, while others are more appropriate for tiles or laminate surfaces.
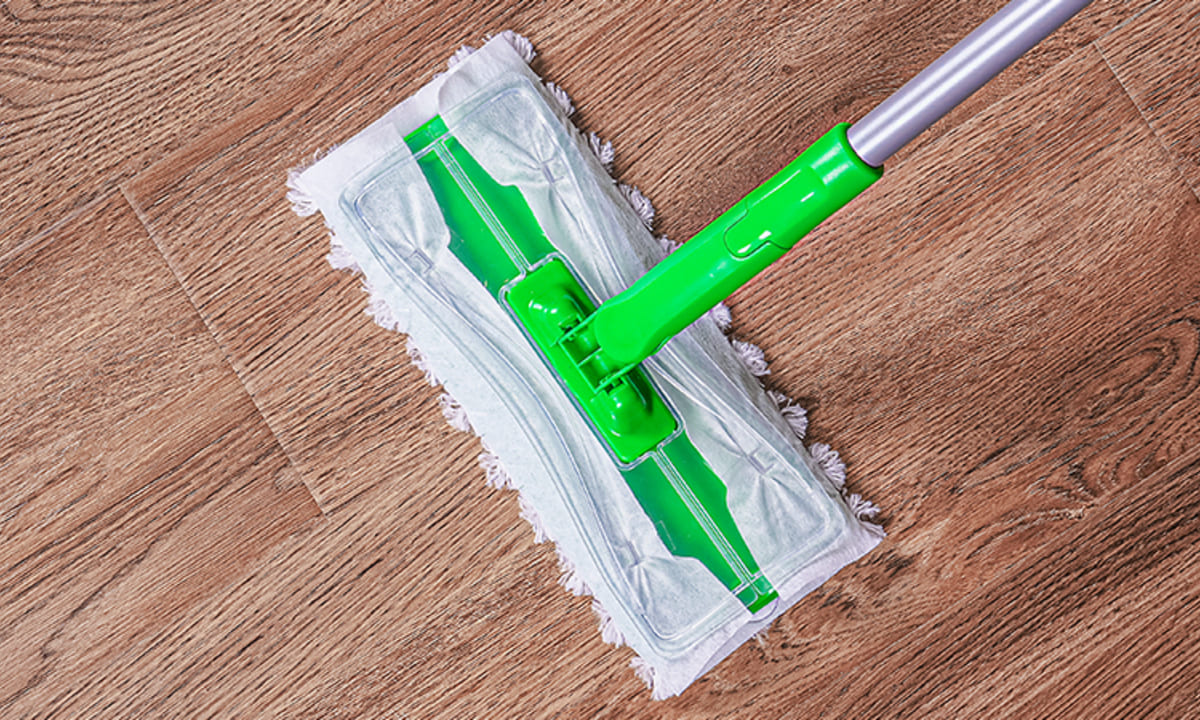
Once you have determined your floor type, prepare your steam mop. Fill the water reservoir with distilled water to help prevent limescale buildup. Then, attach the microfiber cloth to the mop head. The cloth not only picks up dust and dirt particles but also prevents the surface from being scratched during cleaning.
Make sure the pad is clean and in good condition before starting the cleaning process. If the pad becomes dirty during the cleaning, consider changing it to prevent spreading dirt across the floor. Keep extra pads nearby for a quick swap if necessary.

How to Use a Steam Mop Properly?
Starting Your Steam Mop
Before using a steam mop, make sure the water reservoir is filled and the mop pad is properly attached. Plug the steam mop into an electrical outlet and wait for it to heat up. Usually, this takes 15-30 seconds, but it may vary depending on the model. Once the mop is heated and ready, the indicator light will turn on, signaling it’s time to start mopping.
Mopping Techniques
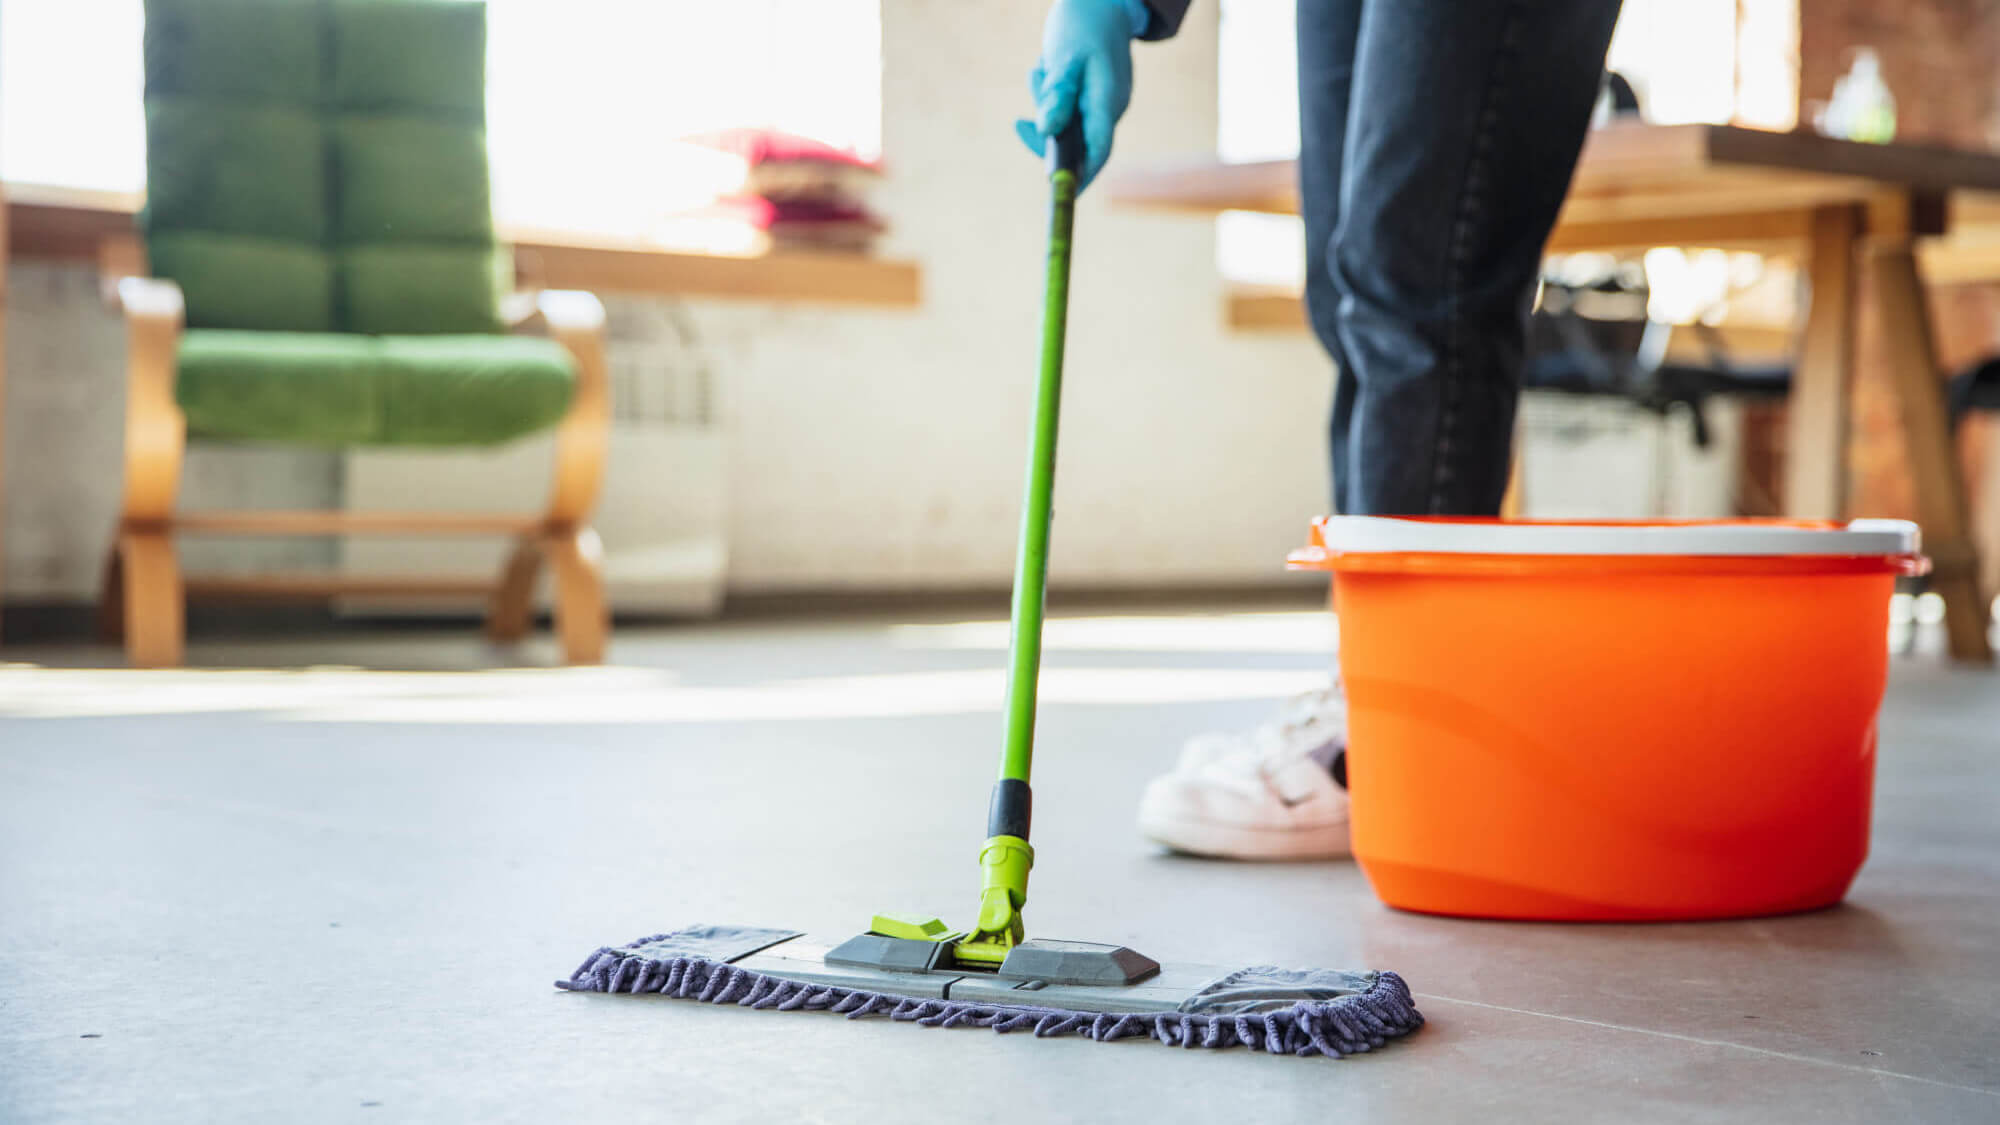
When using a steam mop, it’s important to let the steam do the work by moving the mop in a steady, back-and-forth motion. Avoid scrubbing, as the heat and steam are sufficient for cleaning most surfaces. The mop head should make full contact with the floor, allowing the steam to penetrate and dissolve dirt and grime. For stubborn spots, hold the mop in place for a few seconds allowing the steam to act, and then gently move the mop to clean the area.
It is crucial not to oversaturate the floor. Steam mops are designed to use the power of steam, not excess water. Keep the mop in motion to prevent water buildup, and avoid extended use on one area. This is particularly important for sensitive flooring materials like hardwood and laminate.

Turning Off Your Steam Mop
Once you have finished mopping your floor, turn off the steam mop by unplugging it from the electrical outlet. Allow the mop to cool down for a few minutes before removing the mop pad. It is recommended that the mop pad be washed after each use to ensure it continues to provide effective cleaning. After cleaning, store the steam mop in a safe and dry place, away from any potential hazards.
Using a steam mop is a convenient and effective method for maintaining the cleanliness of your floors. By following the proper procedures, you can ensure that your steam mop works efficiently and keeps your floors looking their best.
How to Maintain Your Steam Mop?
Cleaning After Use
After using your steam mop, it’s essential to clean it properly to ensure its longevity and optimum performance. Start by unplugging the mop and allowing it to cool down. Once it has cooled, remove the mop pad and wash it according to the manufacturer’s instructions. Most steam mop pads can be machine washed, but make sure to air-dry them to prevent shrinkage or damage. Next, empty the water tank, especially if you don’t plan to use the mop for an extended period. Keeping water in the reservoir can encourage bacteria growth and also lead to unpleasant odors.
Periodic Deep Cleaning
In addition to cleaning after each use, it’s a good idea to perform a deeper cleaning of your steam mop periodically. Begin by inspecting the mop head for any debris or buildup that may have accumulated over time. If needed, clean it using a soft brush or cloth.
Next, check the steam nozzles or jets for any clogs or mineral deposits. If the nozzles are clogged, you can use a small brush, such as an old toothbrush, to gently remove the buildup.
Finally, descaling the steam mop can help remove any hard water deposits that may accumulate in the water tank. You can descale your mop by filling the tank with a mixture of water and white vinegar, then running the mop on a low heat setting for a few minutes over a cloth or towel. After descaling, empty the tank and rinse it thoroughly with fresh water. By following these simple maintenance tips, you can keep your steam mop in excellent working condition and prolong its lifespan.
Common Issues When Using a Steam Mop?
When using a steam mop, you may encounter some issues. This section will guide you on how to troubleshoot common problems and maintain the efficiency of your steam mop.
One common issue is when a steam mop does not produce steam. This could be due to a blocked nozzle. Water contains minerals that can build up and clog the nozzle over time. To fix this, you can remove the build-up by using a small brush or needle to poke through and break up any deposits.
Another possible problem is the steam mop not turning on. Before jumping to conclusions, it’s crucial to check the power socket by testing the mop in a different socket. If the device operates in different sockets, it is necessary to secure the main socket. If it still does not work, please check the power cable for any visible damage.
In some cases, steam mops may leak water. This may result in damage to the water tank or inlet hose. Damaged seals on the water tank may also cause leakage and may need to be replaced to solve the problem.
Inadequate heat production is another issue that may arise during use. This could be due to a faulty heating element, which would require professional replacement. It’s also essential to use distilled water in your steam mop, as this will minimize mineral build-up and maintain optimal heat production.
Keep in mind regular maintenance, such as cleaning the nozzle, changing the water, and inspecting the appliance for damage, will ensure your steam mop functions efficiently and effectively.
Safety Always Comes First
When using a steam mop, it is essential to follow safety guidelines to ensure a smooth and efficient cleaning experience. Firstly, always read the manufacturer’s instructions carefully before using your steam mop, as different models may have unique safety recommendations.
Ensure that your floor type is compatible with steam mops, as they are typically safe to use on ceramic or porcelain tile and linoleum floors. However, most hardwood, laminate, marble, natural stones, and vinyl floors are not suitable for steam mops unless specified by the manufacturer.
Never leave a steam mop idle in one spot, as the heat generated from the mop may damage the floor or create a burn hazard. If you need to pause the cleaning process, make sure to turn off the mop and place it in a heat-safe location.
Use caution when handling the steam mop’s water reservoir, as the water can become extremely hot, reaching nearly 250 degrees Fahrenheit. In addition, avoid overfilling the reservoir as this may lead to leaks and accidents.
Additionally, always use distilled or demineralized water in the steam mop, as tap water can contain minerals that may build up and damage the mop over time.
Finally, remember to store your steam mop properly after use by allowing it to cool down before cleaning and detaching the mop pad. Place the steam mop in a dry and cool place, away from children and pets, to avoid accidents.
Further Reading and Related Cleaning Methods
While a steam mop is an efficient way to keep your floors clean, it’s not suitable for every situation. For those who prefer traditional methods, learning how to mop a floor effectively is crucial for maintaining cleanliness. Steam mops are particularly effective for cleaning bathroom tiles, but for a thorough clean, you might want to explore our bathroom cleaning tips for a comprehensive approach. By combining different cleaning methods and tools, you can create a cleaner, healthier environment for your home.