Mopping is a fundamental household chore that plays a crucial role in maintaining a clean, hygienic, and inviting living space. Whether you’re dealing with sleek hardwood, durable tile, or practical linoleum, proper mopping techniques can make a world of difference in the cleanliness and longevity of your floors. However, with the variety of floor types, cleaning solutions, and mopping tools available, the task can seem daunting to beginners.
This comprehensive guide aims to demystify the art of mopping, providing you with step-by-step instructions, expert tips, and insights to help you achieve spotless floors with ease. From selecting the right mop and cleaning solution to mastering effective mopping techniques, we’ll cover everything you need to know to become a mopping pro.
1. Gathering Essential Cleaning Supplies
Before starting to mop a floor, it is crucial to gather all necessary cleaning supplies. Having the right tools on hand ensures a more effective and efficient cleaning process.
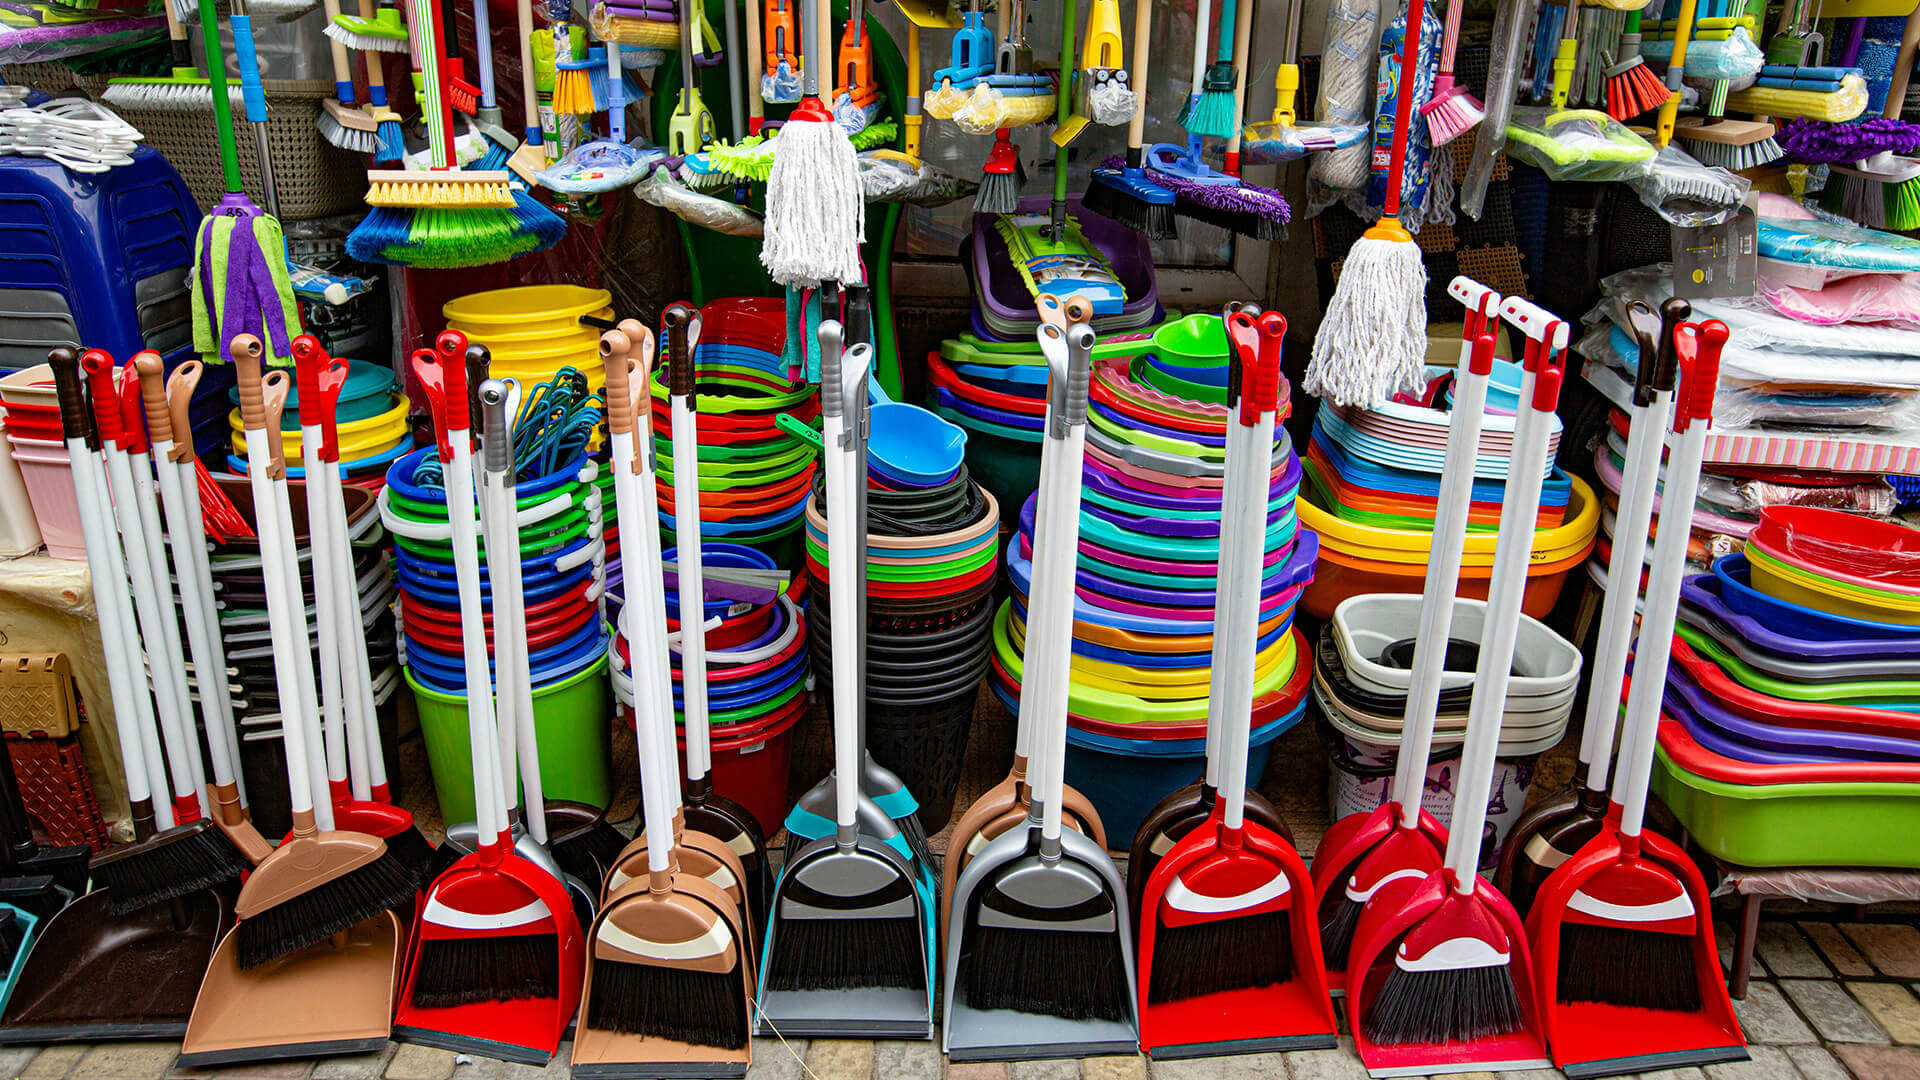
First, select an appropriate mop for your floor. There are various mops available, such as traditional mops and flat mops suited for different kinds of floors. Some mops are specifically designed for hardwood, tiles, or laminate flooring.
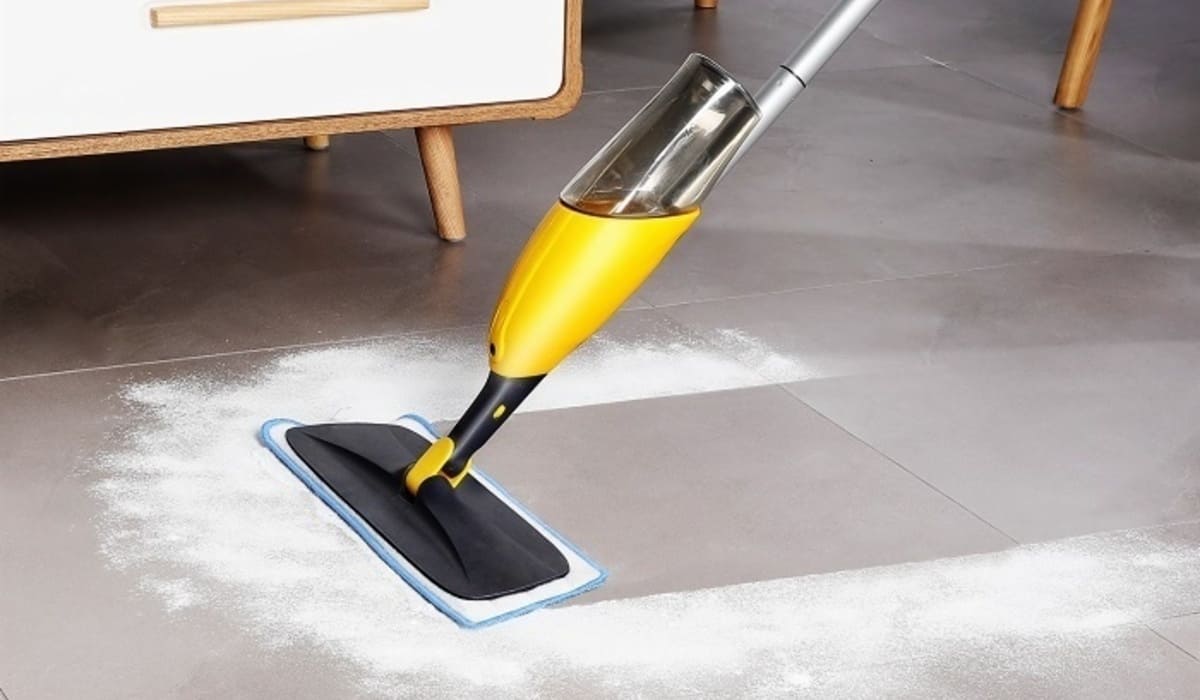
Next, choose a proper cleaning solution suitable for the floor material. For example, a mild detergent solution can be used for tile floors, while natural wooden floors should avoid acidic cleaning agents like vinegar or lemon. Additionally, having a spray bottle can help apply the cleaning solution evenly on the floor.
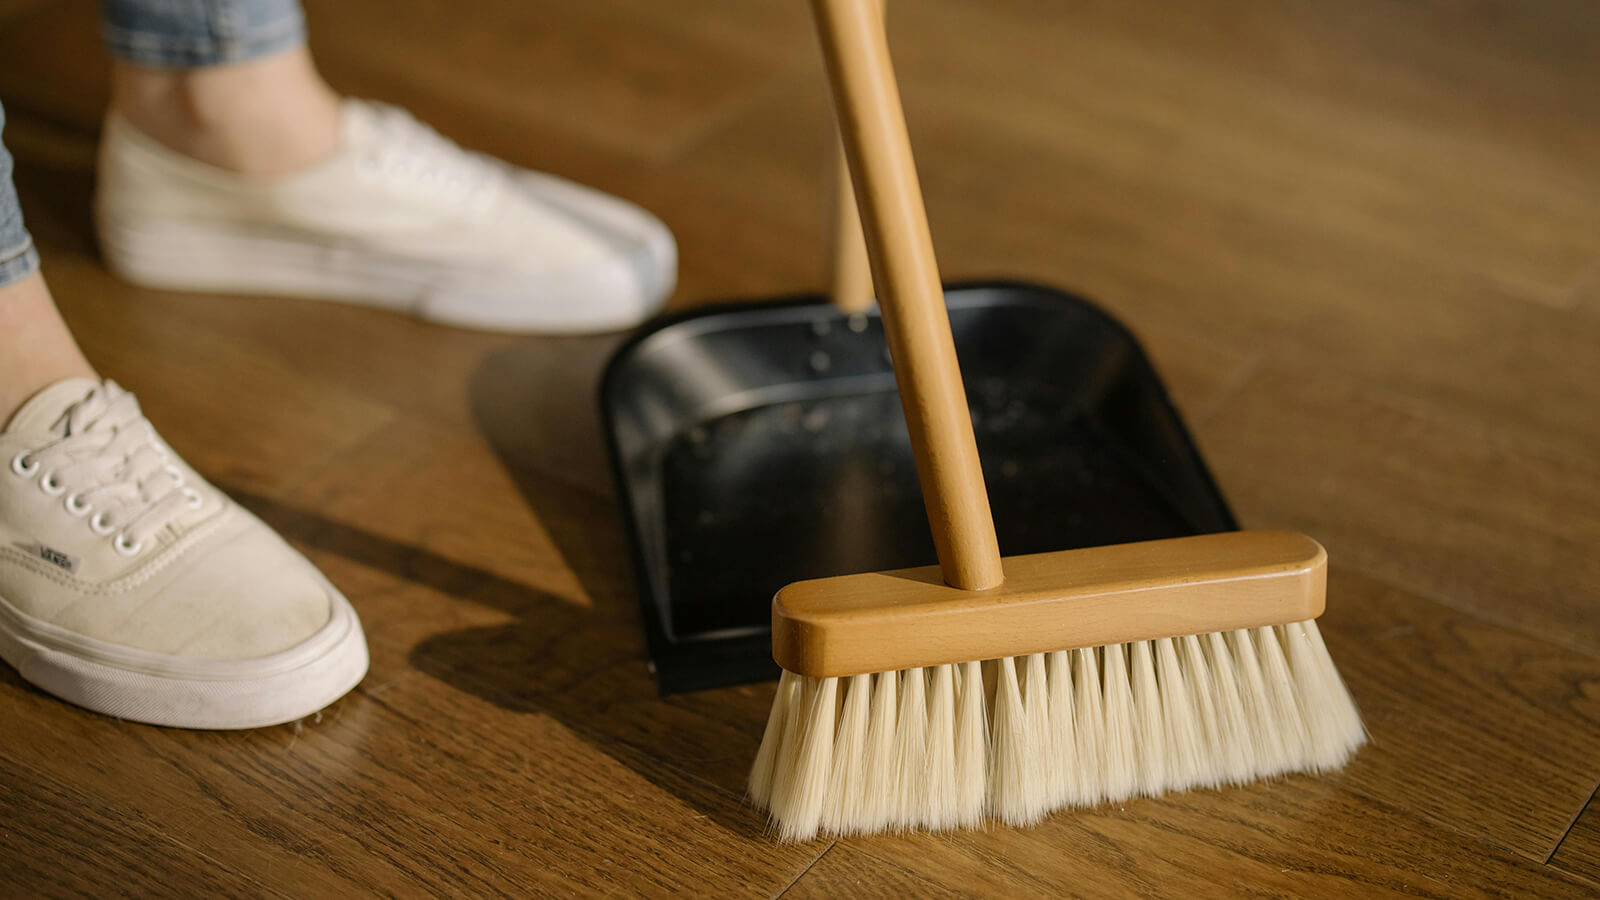
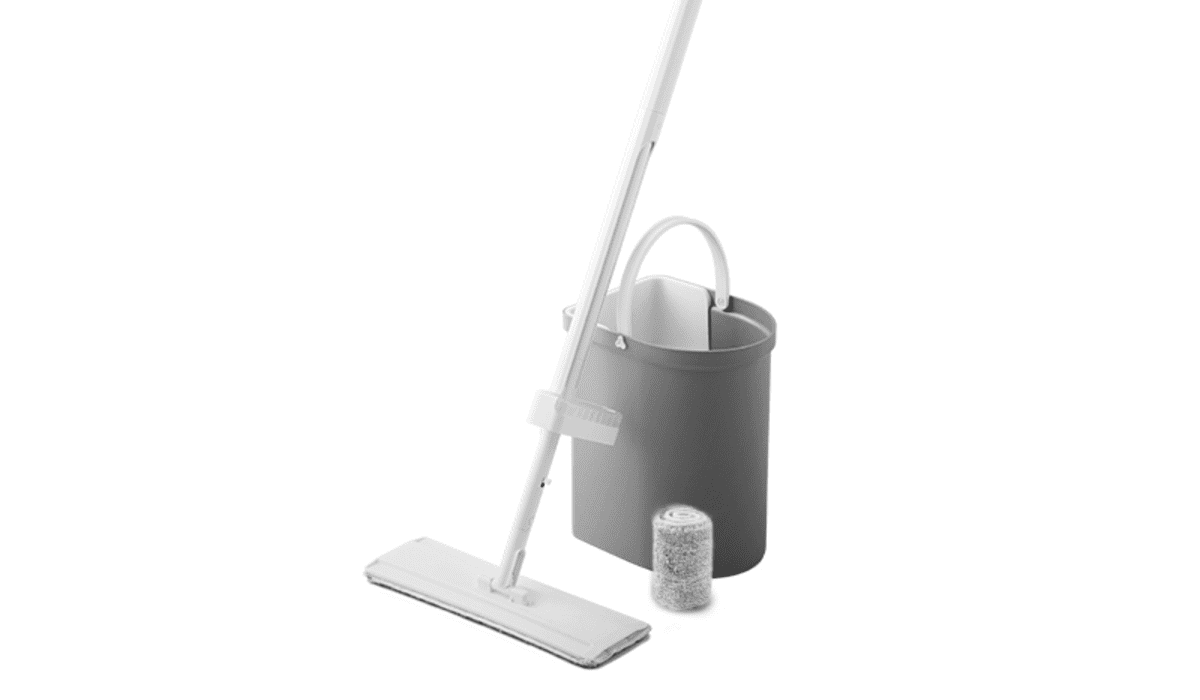
In addition to the mop and cleaning solution, make sure to have a bucket and a vacuum cleaner or broom on hand. The bucket is used to hold the cleaning solution and water, while the vacuum cleaner or broom helps to remove grit, hair, and other large particles before mopping. This will make the mopping process less arduous and more effective.
Lastly, gather some clean, dry towels or microfiber cloths that can be used for drying or spot cleaning. These materials are essential for picking up any remaining moisture to avoid potential damage or slip hazards on the floor.
By assembling all the essential cleaning supplies beforehand, you can ensure a smoother, more efficient process of mopping your floor effectively and safely.
2. Choosing the Right Mop
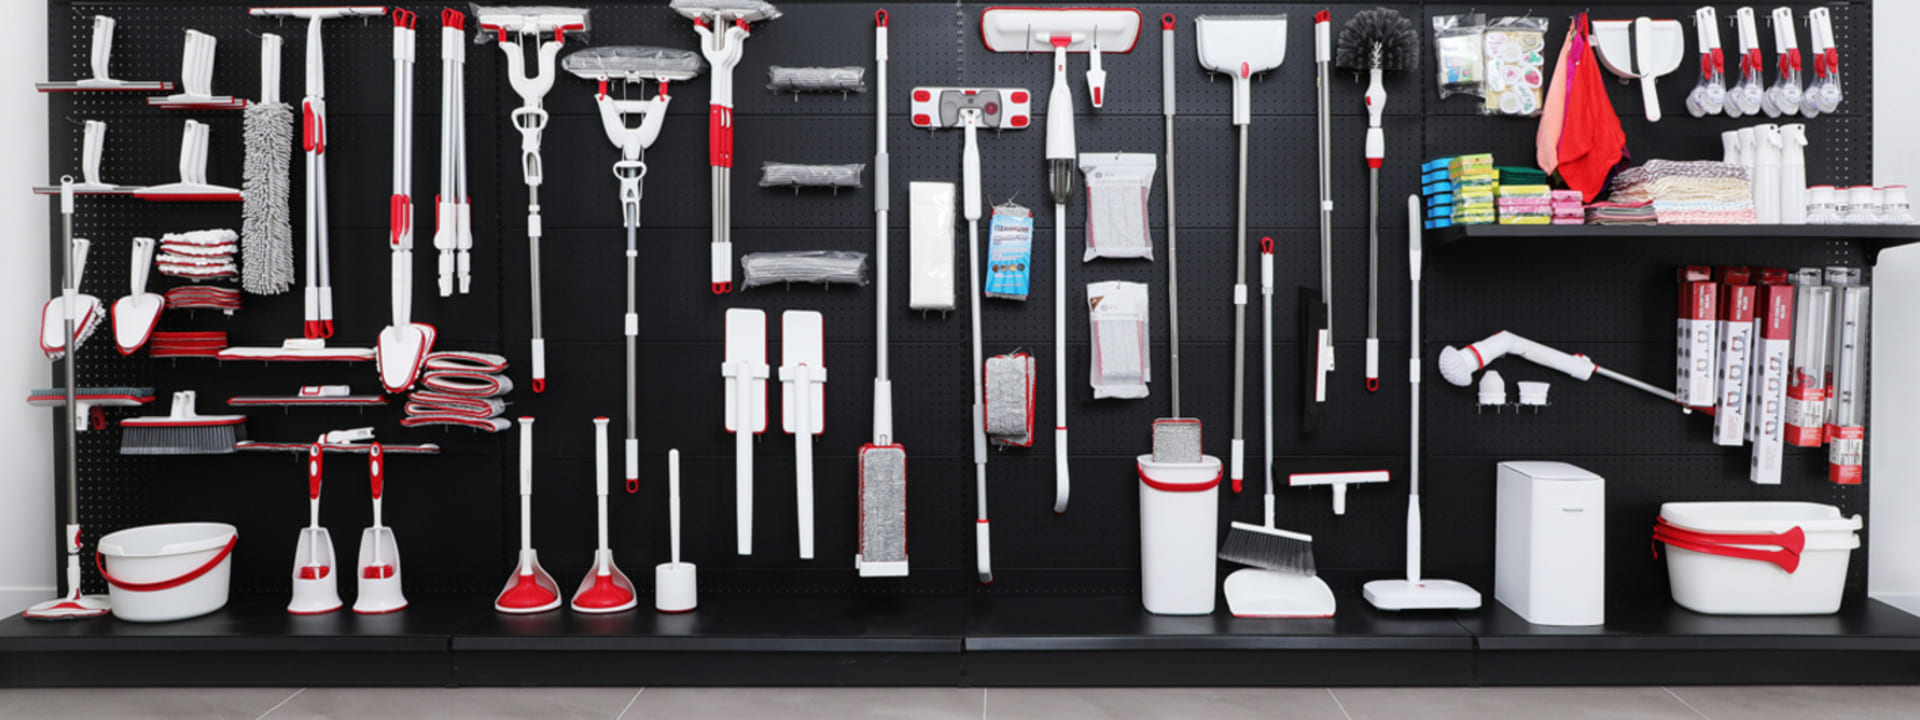
Selecting the right mop for your floor is crucial. There are various types of mops available in the market, each with its strengths and weaknesses. Let’s examine some of the most common types:
String mops
String mops were once the most widely used mop type. They are known for their absorbency and the ability to reach into tiles and hard-to-reach areas. However, these mops require several rounds of wringing to manage the water usage.
Sponge mops
Sponge mops are a popular alternative, holding less water and making it easier to control the moisture left on the floor. They are a great option for smooth floors but can struggle when it comes to cleaning uneven surfaces.
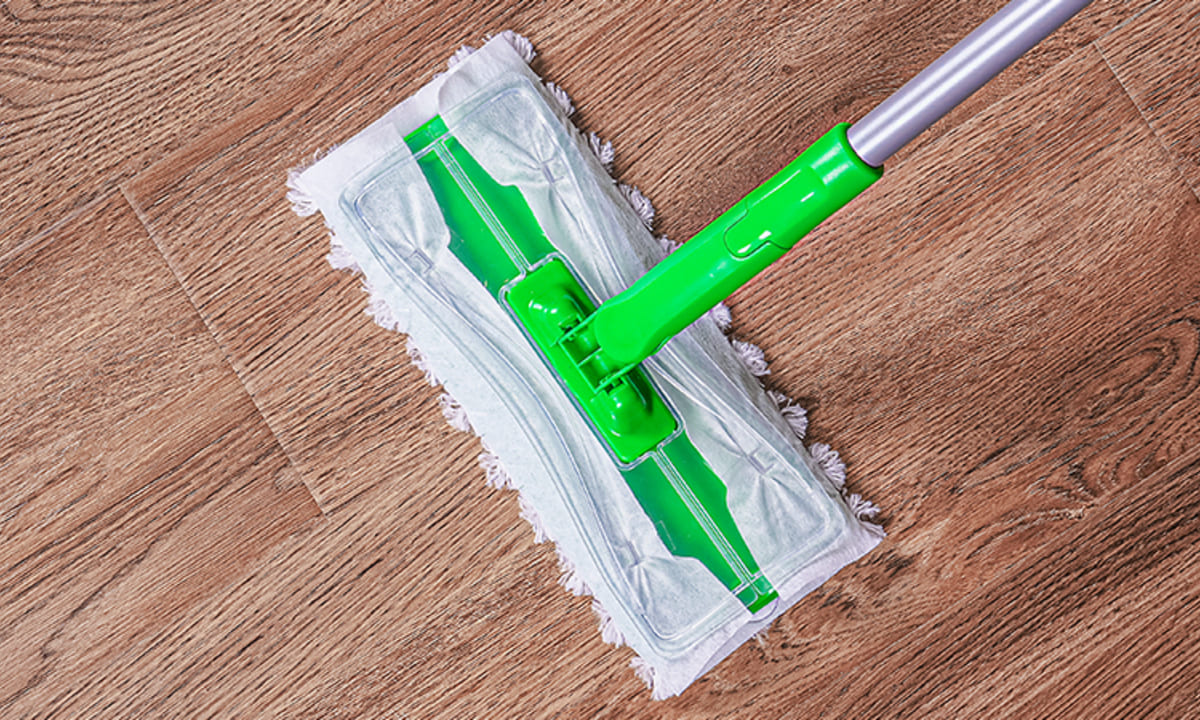
Flat mops
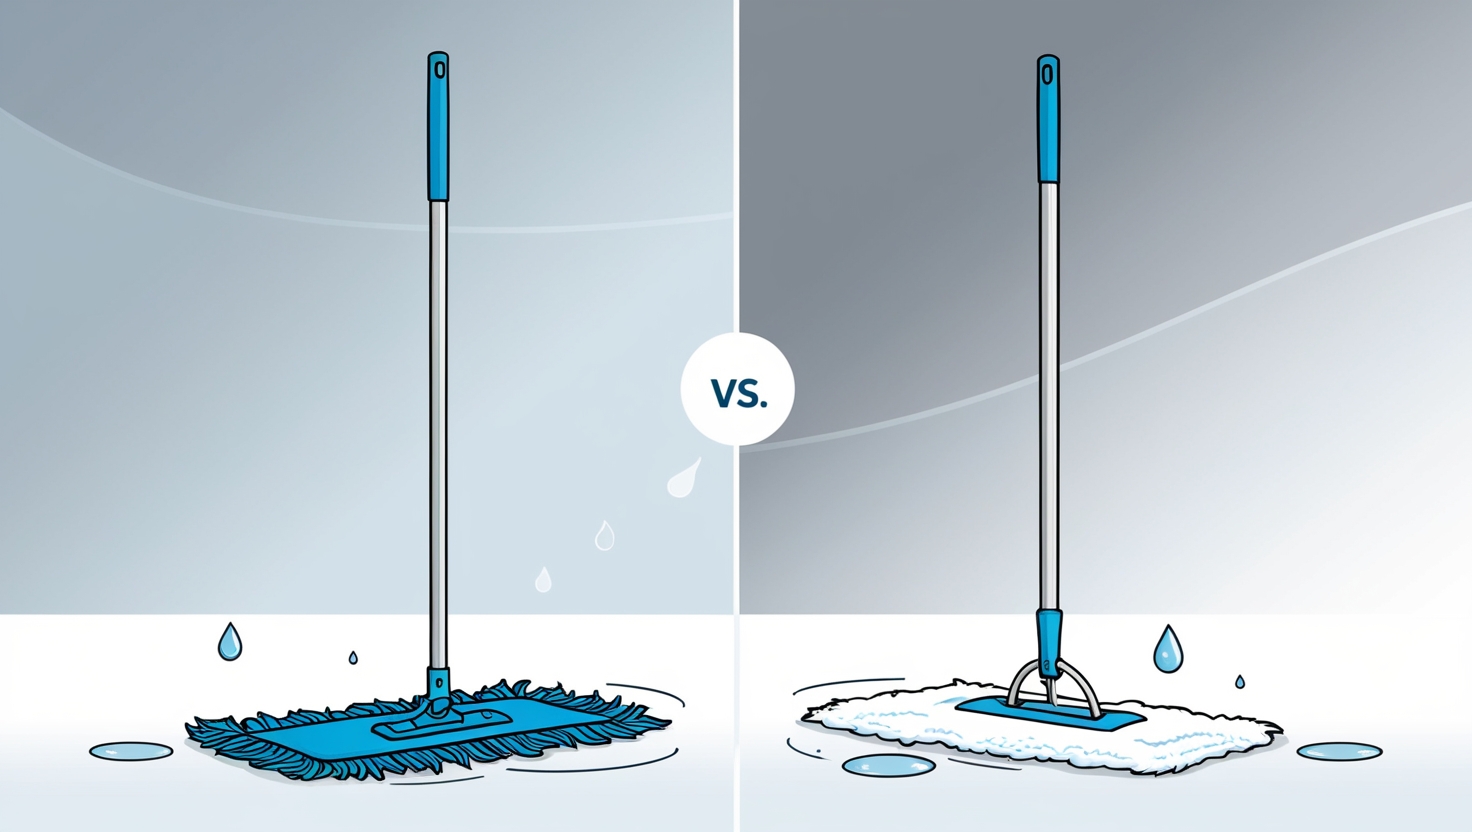
Flat mops are gaining popularity due to their ease of use and versatile cleaning capabilities. Flat mops come with reusable or disposable pads and wet or dry cleaning options. They are suitable for various types of floors, but may not be as absorbent as other options.
Steam Mops
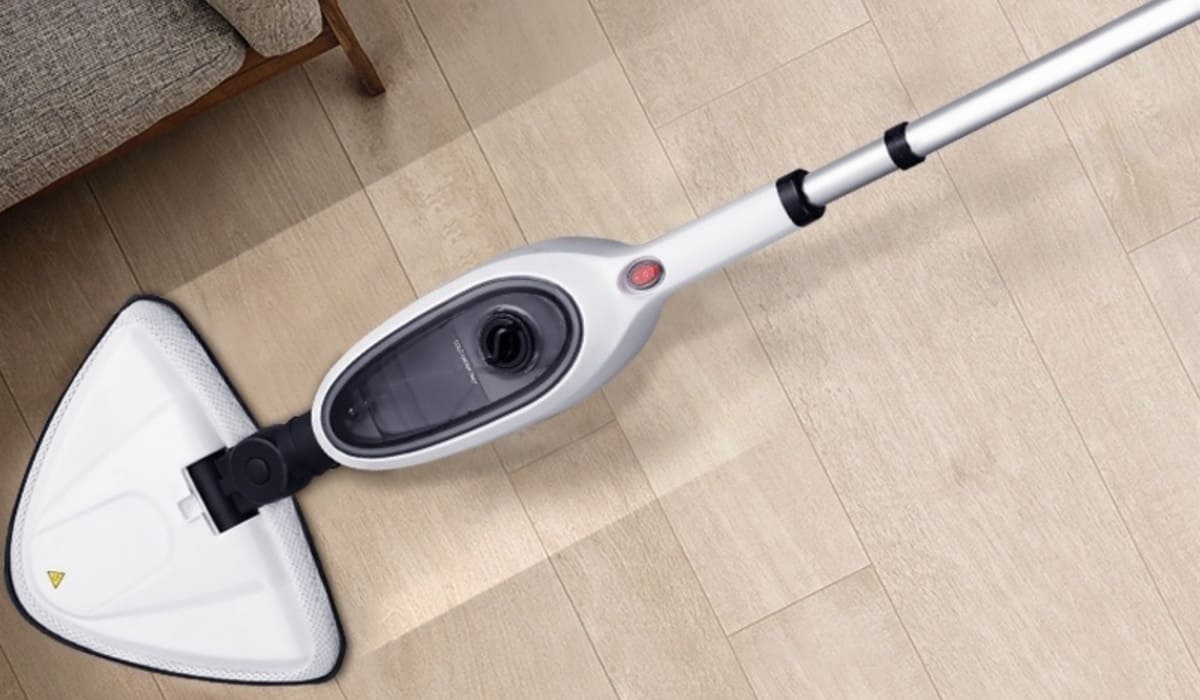
Steam mops are a modern addition to the cleaning arsenal. They use hot steam to clean and sanitize floors without the need for chemicals. Steam mops are effective on sealed hard floors like tile, laminate, and some hardwoods. They’re great for deep cleaning and killing bacteria, but may not be suitable for unsealed or water-sensitive floors.
To choose the right mop, consider the following factors:
- Floor-type: Knowing the type of floor material you have is essential for selecting the proper mop. For example, porous surfaces like stone and laminate respond better to minimize water usage, making a sponge mop or steam mop a preferred option.
- Cleaning solution: Check the manufacturer’s guidelines to find the right cleaning product for your specific floor type. The proper solution will maximize cleaning efficiency without causing damage to your floor. Note that steam mops typically don’t require additional cleaning solutions.
- Frequency of cleaning: If you mop your floors frequently or require quick drying times, opt for a mop that can easily wring out excess water, such as a sponge or flat mop. Steam mops are also excellent for quick cleaning and fast drying.
- Accessibility: Choose a mop that can easily reach areas like corners, edges, and under furniture. The shape and flexibility of the mop head are key factors to consider. For example, a flat mop or steam mop is more likely to fit under low furniture compared to a bulky string mop.
- Sanitization needs: If you’re concerned about germs and bacteria, a steam mop might be the best choice as it can sanitize floors without chemicals.
Remember, the mop choice matters to maintaining clean and well-kept floors. By considering these factors, you can find the most suitable mop to keep your home floor clean and durable.

3. Selecting a Suitable Cleaning Solution
When mopping a floor, choosing the right cleaning solution is crucial. This section will cover two cleaning solutions: commercial cleaners and homemade alternatives.
Commercial Cleaners
Commercial cleaners are readily available in stores and can be a convenient choice for quick and efficient floor cleaning. There are various types of commercial cleaners specifically formulated for different flooring materials such as hardwood, tile, and stone. It is important to read the product label and make sure the cleaner is compatible with your floor type.
Homemade Alternatives
For those who prefer a more eco-friendly and cost-effective option, homemade cleaning solutions can be just as effective. A common homemade solution is a mixture of water and a few drops of dish soap. Another popular alternative is combining water and white vinegar, which can be used on most floor types except for hardwood, as the acidity may damage the finish. To add a pleasant scent, you may also include a few drops of essential oils, such as lavender or lemon.
Consider the type of flooring you have and your personal preferences when selecting a suitable cleaning solution. Both commercial cleaners and homemade alternatives can effectively clean your floors when used correctly.
4. Preparing the Mop and Bucket
Before you begin mopping, prepare the mop and bucket correctly. First, choose the appropriate mop for your floor type. There are various mops, such as traditional mops, flat mops, and microfiber mops, each suited for different flooring materials.
Fill the bucket with warm water, keeping in mind that waxed floors require tepid water. Add a small amount of cleaner specifically designed for your floor to the warm water. Generally, a squirt or two is enough to effectively clean the floor surface. For tile floors, you can use a mixture of one part window cleaner and one part warm water.
Laminate floors, on the other hand, need a more diluted solution. You can also use rubbing alcohol because it dries quickly, making it a good choice for floor mopping. To prepare the rubbing alcohol solution, mix one cup of rubbing alcohol with a gallon of warm water.
Dip the mop into the soapy water solution, making sure it’s well-saturated but not dripping with water. Wring out the excess water to avoid causing damage to your floors, especially if you’re mopping wooden or laminate surfaces.
Now that the mop and bucket are prepared, you can confidently begin mopping your floor knowing that you have selected the right cleaning solution and mop for your specific flooring type.
5. Proper Technique for Mopping the Floor
Mopping your floor requires different techniques depending on whether you are performing a wet mop or a dry mop. Each method has its own benefits and specific application.
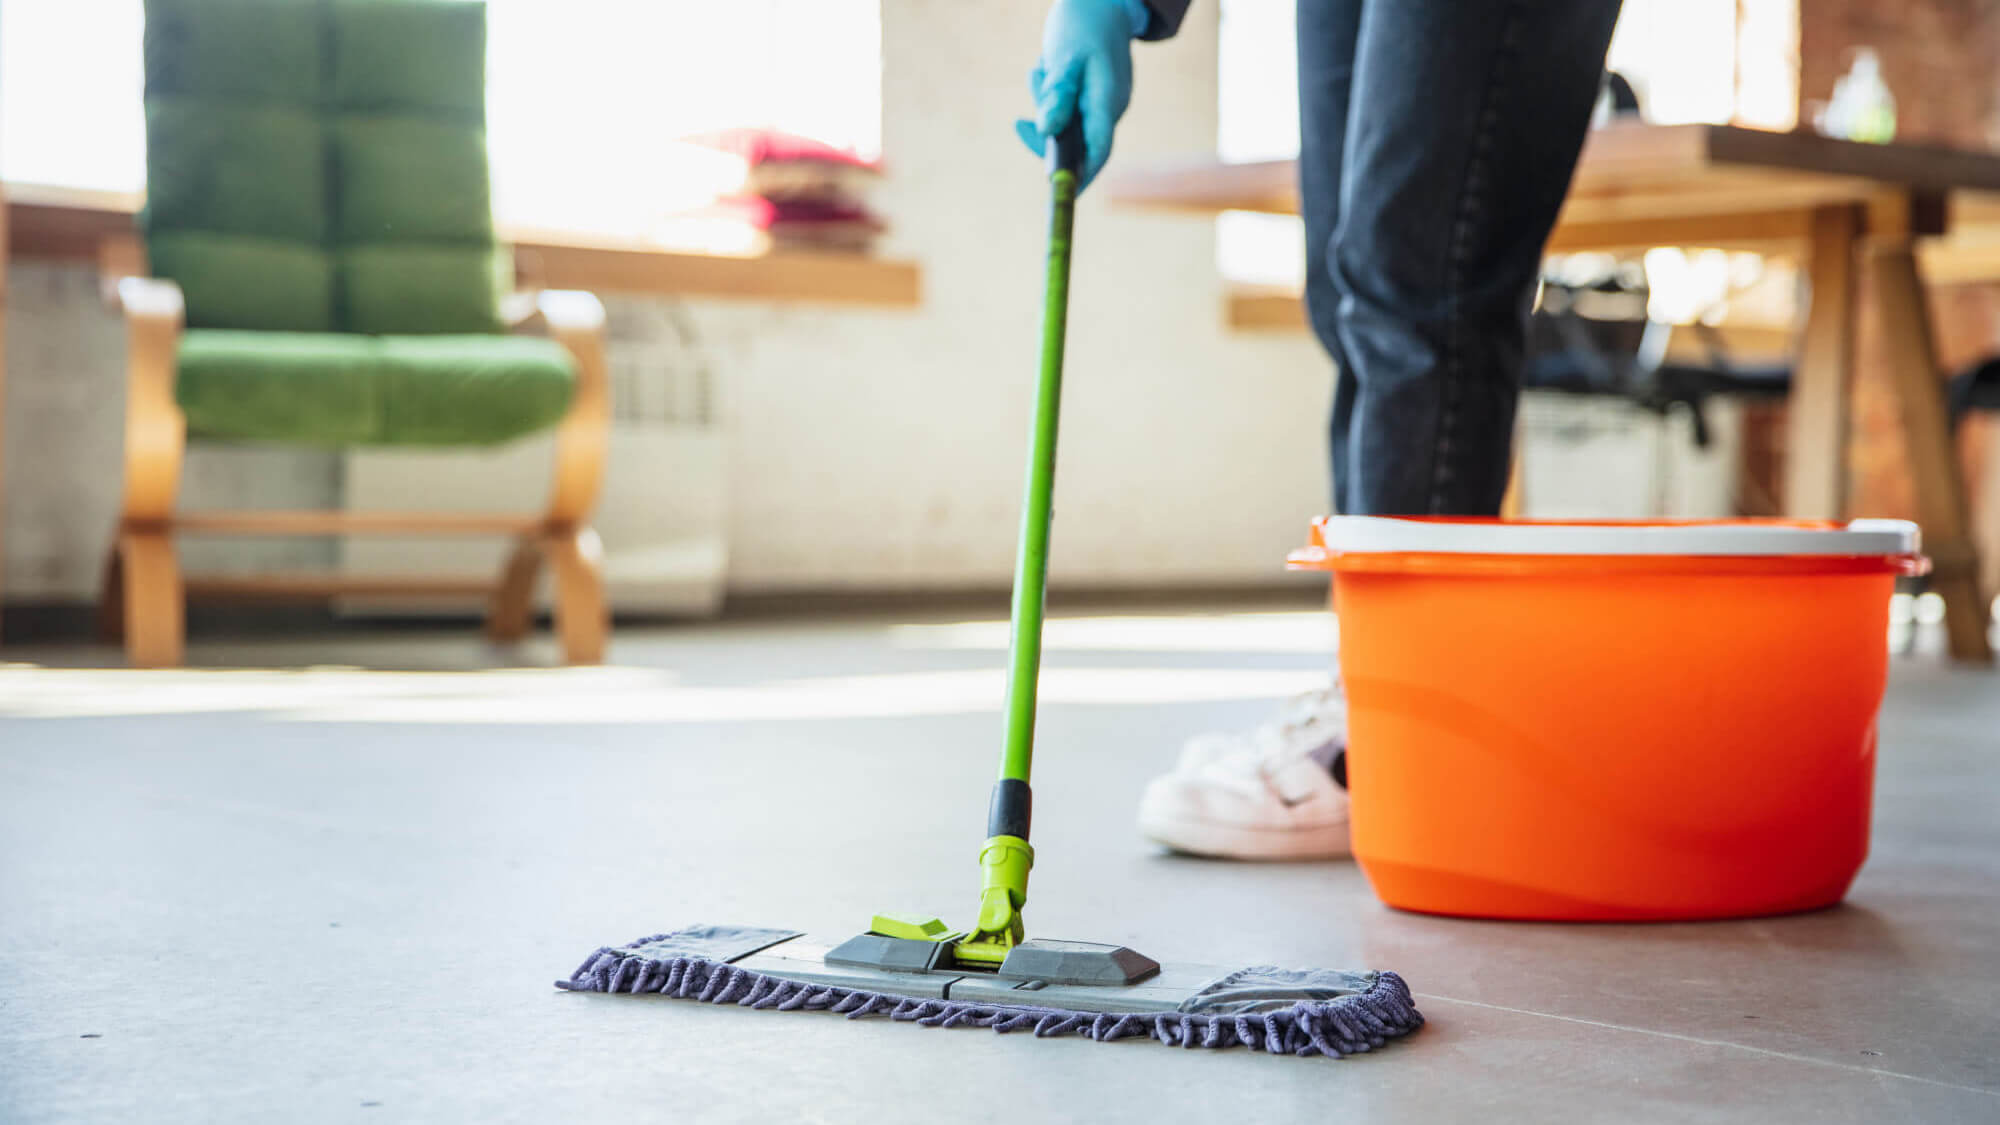
Wet Mopping
Wet mopping is the most common technique used for cleaning hard floor surfaces. It involves using water, a cleaning solution, and a mop to remove dirt and grime.
- Sweep or vacuum the floor: Before mopping, sweep or vacuum the floor to remove any dirt, dust, and large particles.
- Prepare the cleaning solution: Fill a bucket with warm water and mix in an appropriate amount of cleaning solution. Remember to follow manufacturer recommendations for dilution ratios.
- Submerge and wring the mop: Dip the mop head into the cleaning solution, and then wring it out to ensure it is not too saturated. Excess water can cause damage to some floor surfaces.
- Mop the floor section by section: Divide the floor into smaller sections to make the task more manageable. Start in one corner of the room and work your way towards the exit, mopping in a consistent pattern. It’s essential to mop the floor by dividing it into sections to ensure the best results.
Dry Mopping
Dry mopping, also known as dust mopping, is used to pick up loose dirt, dust, and debris from the floor without water or a cleaning solution. This technique is especially useful on delicate surfaces that may be sensitive to moisture.
- Assemble the dry mop: Attach a dust mop head or microfiber pad to a mop handle.
- Sweep or vacuum the floor: As with wet mopping, start by sweeping or vacuuming the floor to remove larger particles and dirt.
- Mop the floor in a systematic pattern: Starting at one corner of the room, move the dry mop in a consistent pattern, such as an “S” shape or a figure-eight motion. This will ensure that all areas of the floor are covered.
- Clean the mop head: Periodically shake the mop head or use a vacuum attachment to remove accumulated dust and debris. This will help to maintain the effectiveness of the mop and prevent dirt from being spread further.
Using the proper mopping technique for your floor type will result in cleaner and better-maintained surfaces. Practice these techniques and adapt them to your specific flooring needs for the best possible results.
6. Rinsing and Wringing the Mop
Rinsing and wringing the mop is a crucial step in the mopping process to ensure spotless floors. Failing to rinse and wring the mop properly can lead to a floor covered with dirty watermarks and streaks.
When mopping, it’s essential to have two separate containers: one with a cleaning solution and the other with clean water for rinsing. This technique keeps your cleaning solution free from contaminants and ensures a more thorough cleaning source.
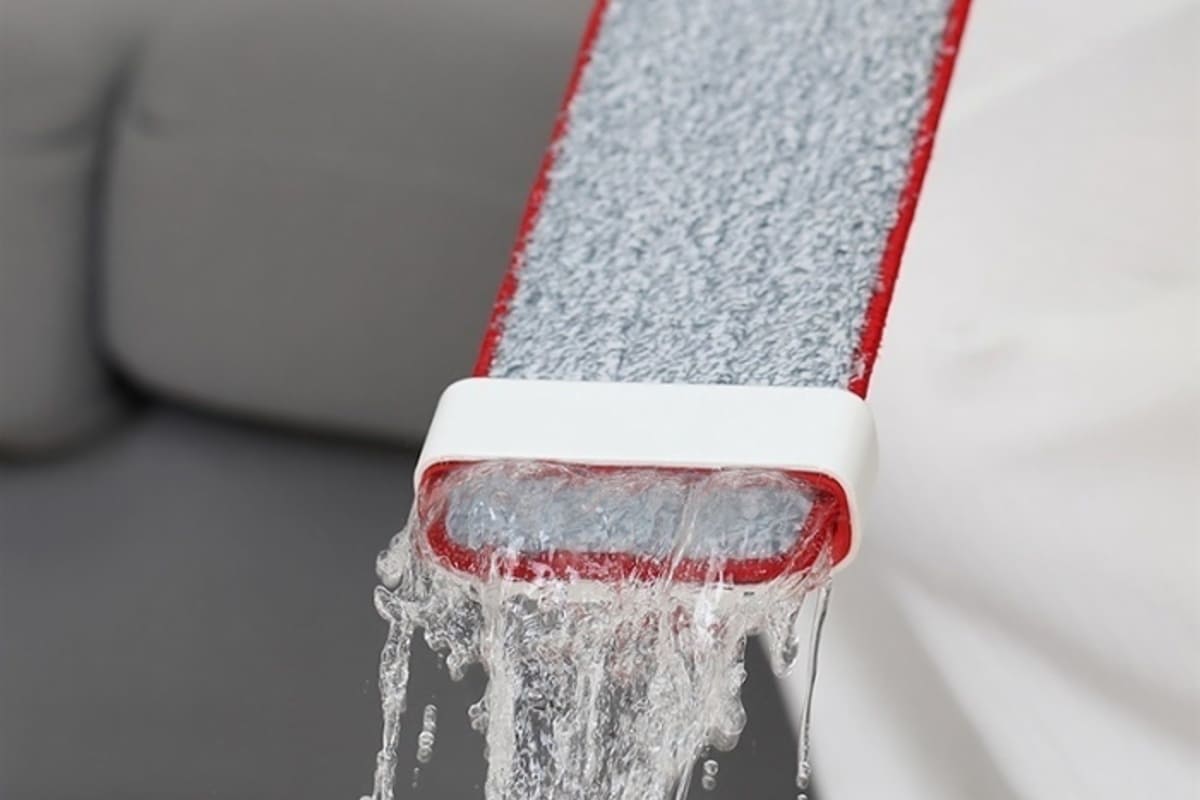
To begin, dip the mop into the cleaning solution bucket and let it absorb the cleaner. Then, wring out as much moisture as possible, leaving the mop damp but not soaked. When you have mopped a small section, rinse the mop in the container of clean water, wring it out, and proceed to the next section. Remember to keep the mop damp, not wet, to avoid damaging the flooring materials, especially hardwood, laminates, and linoleum sources.
Changing the mop water and rinse water regularly is vital for preventing the spread of dirt and grime sources. The frequency with which you change the water will depend on the size and level of dirtiness of the floor. Be mindful not to let the water become too dirty; otherwise, it will only spread grime across the floor instead of removing it.
Lastly, incorporate proper wringing techniques to prevent excess water buildup on the floor. Too much water can damage the flooring material and result in a longer drying time. After rinsing, make sure to wring the mop out well before moving on to the next section.
By following these rinsing and wringing tips, you will achieve a cleaner, streak-free floor with a reduced risk of damaging your flooring materials.

7. Drying the Floor
After mopping the floor, it’s crucial to dry it properly to prevent water stains, warping, and accidental slips. There are several effective methods to dry a floor after mopping, ensuring it’s safe and maintains its appearance.
The first method is using a dry mop, such as a string mop. Begin at the entrance of the room and move the dry mop back and forth, working your way across the floor and toward the opposite wall. Make sure to turn the mop frequently to avoid water saturation of the strings, which can lead to a less effective drying process.
Another option is to use a clean, dry cloth or kitchen towel to buff away any remaining water. This can be particularly helpful when drying hardwood floors, as it allows you to reach areas that a string mop may not be able to access. Simply lay the towel on the floor and move it in a zig-zag pattern to cover the entire surface, replacing the towel with a fresh one if it becomes saturated.
In addition to these manual methods, you may consider using a fan or a dehumidifier to aid in the drying process. This can be especially helpful in humid environments or if the floor is made from a material that is particularly sensitive to water damage. Place the fan or dehumidifier in the room, ensuring it’s directed at the floor to maximize air circulation and moisture extraction.
With these drying techniques, you can help maintain the appearance and integrity of your floor while ensuring safety after mopping.
8. Repeat Mopping if Necessary
Sometimes, one pass at mopping the floor may not be enough to achieve the desired level of cleanliness. In such cases, it is perfectly acceptable to repeat the mopping process. Before doing so, however, make sure to assess the floor’s condition to determine whether a second round is necessary.
Begin by examining the floor closely for any lingering dirt, grime, or stains. If these are still present, it might be helpful to mix a stronger cleaning solution or consider using a different mop head. Be cautious with the type of floor you have, as some surfaces may not be suitable for stronger cleaning agents or abrasive tools.
Next, allow the floor to dry completely after the first round of mopping. This will give you a clear picture of any remaining dirt or stains and prevent unintentional damage to the surface. Moreover, make sure to rinse the mop and change the water in the bucket before starting the second mopping session. This will ensure that you aren’t spreading the dirty water back onto the floor.
As you begin the second mopping session, pay close attention to the previously identified trouble spots. Use a targeted, thorough cleaning approach, and work systematically to ensure that you cover the entire floor area. Remember to wring out the mop frequently, as a damp mop is more effective than a soaking-wet one.
In some cases, stubborn stains or dirt might require additional treatments like a floor scrubber or a specialized cleaning agent. Be sure to follow the product recommendations and instructions for your specific flooring type to avoid causing damage. After this additional treatment, mopping the floor again should be more effective in removing the remaining dirt and grime.
By repeating the process as necessary and adjusting your cleaning techniques, you can successfully achieve a clean and well-maintained floor. Just use the right tools, solutions, and techniques to avoid damaging your prized flooring.

9. Cleaning and Storing the Mop After Use
Cleaning and storing your mop properly after each use is essential for maintaining its effectiveness and preventing the growth of bacteria. Begin by thoroughly rinsing or washing the mop head to remove dirt and grime. If your mop is machine-washable, follow the manufacturer’s instructions, and use the delicate cycle at the warmest temperature.
Next, wring out the mop head to eliminate as much excess water as possible. Damp mops should not be stored wet to avoid damaging the fibers or promoting bacterial growth. It is necessary to allow the mop head to dry completely before storing.
When storing the mop, it is best to hang it by the handle with the mop head up and away from the floor. This position enables air circulation and helps prevent the growth of mold and mildew. Storing the mop in a well-ventilated area is also critical to promote proper drying.
Lastly, avoid storing mops in enclosed spaces like closets or alongside dirty tools. This practice helps maintain a clean and sanitary mop, ready for the next cleaning session. By following these guidelines, you ensure a longer lifespan for your mop and a cleaner, more hygienic home.