A vacuum cleaner is essential to keep floors and carpets clean and dust-free. However, many people often neglect the importance of regularly cleaning and maintaining their vacuum cleaners. Proper cleaning can extend their lifespan and guarantee better air quality while maintaining an efficient cleaning performance. This article will discuss some helpful tips on how to clean a vacuum cleaner properly.
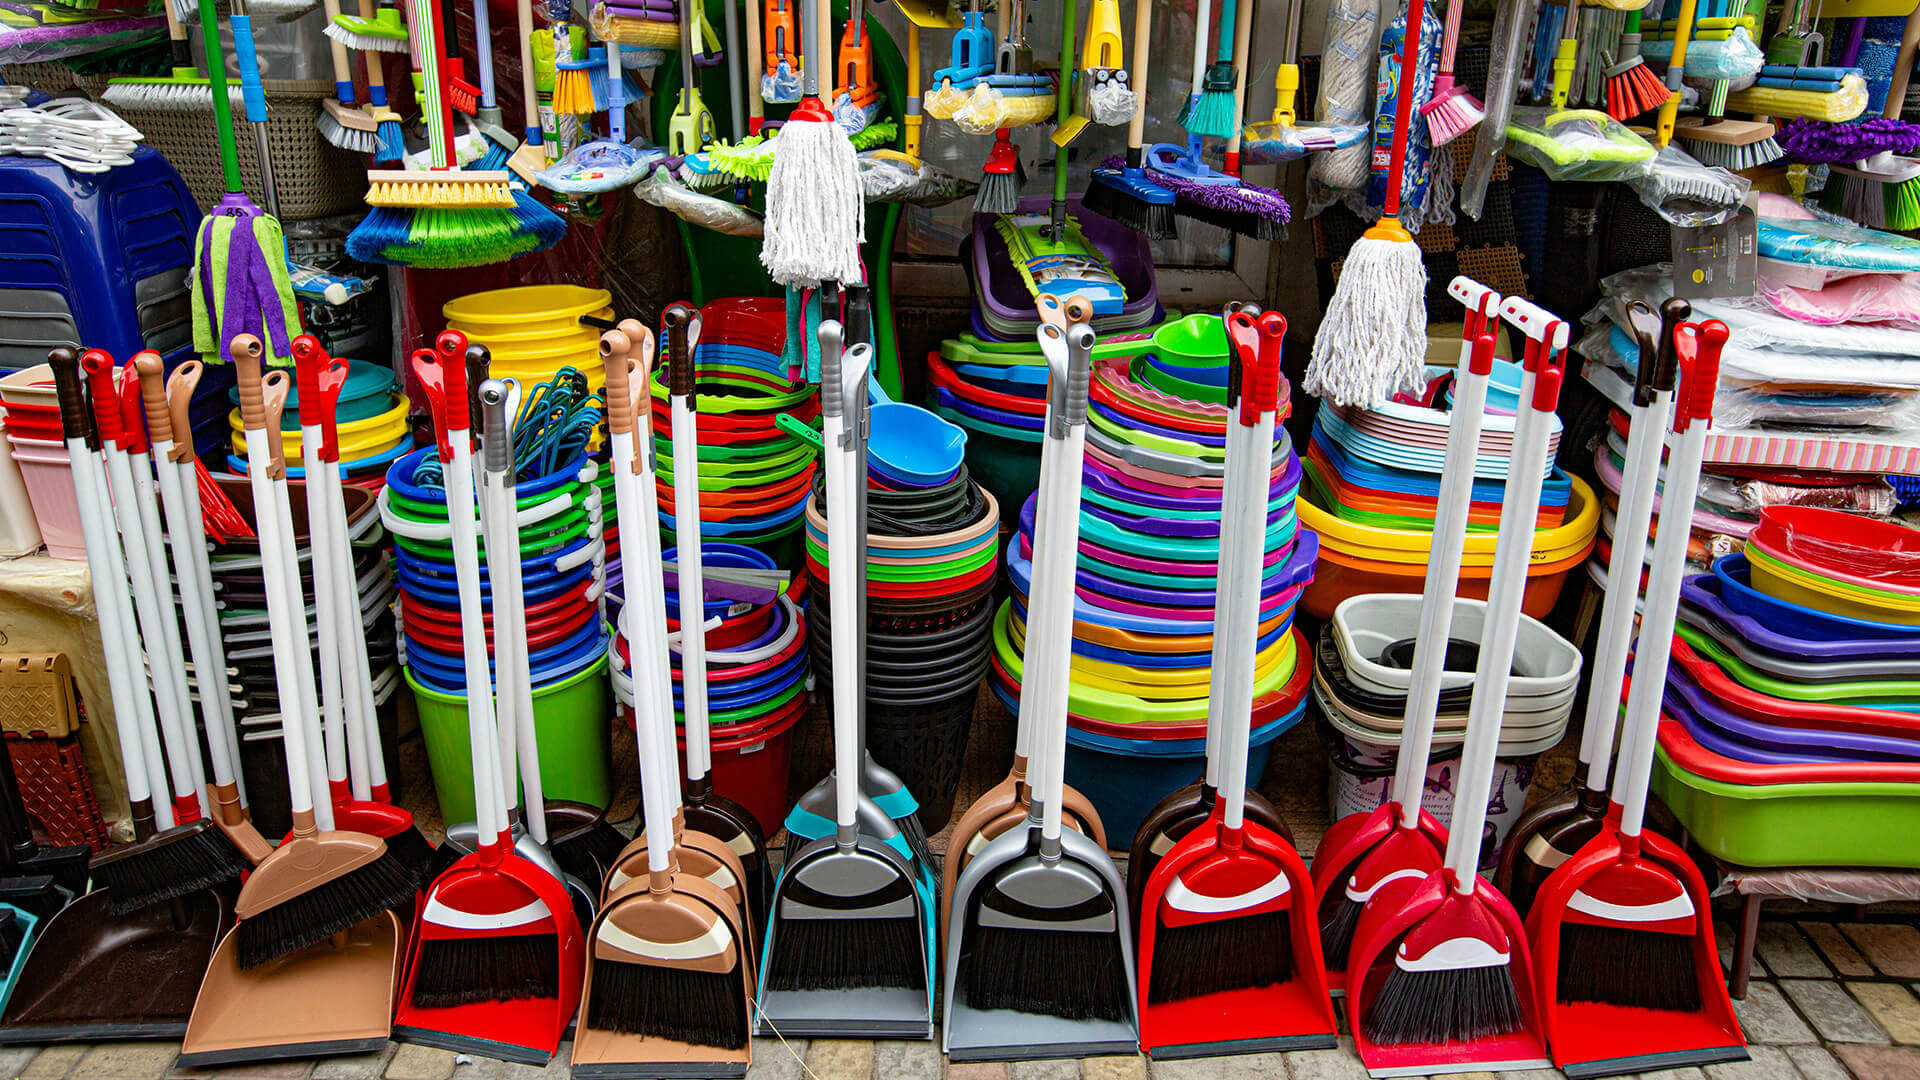
Regular maintenance of all your cleaning tools, including vacuum cleaners, is essential for maintaining a hygienic home environment. While this guide focuses primarily on vacuum cleaners, it’s equally important to keep other cleaning implements, such as dusters, in top condition. Proper care of all cleaning tools ensures they effectively remove dust and dirt rather than spreading it around. If you’re looking to maintain your dusters alongside your vacuum cleaner, our comprehensive guide on how to clean a duster provides valuable insights and tips. Now, let’s delve into the specifics of cleaning your vacuum cleaner.
Cleaning a vacuum cleaner involves several crucial steps, including emptying and washing its dustbin, wiping down its exterior, and sanitizing various components. Additionally, checking and cleaning the filters and roller brush of the vacuum is vital for maintaining optimal functionality. Carefully following these steps will ensure that the vacuum cleaner works effectively and does not spread allergens through the air.
Regularly maintaining and cleaning a vacuum cleaner may seem daunting. Still, with some essential guidelines and a little time investment, you can effectively prolong the life of your appliance and enhance its performance. The following sections will explore the recommended methods for cleaning and maintaining your vacuum cleaner, ensuring a reliable and efficient tool in your cleaning arsenal.

Identifying the Vacuum Cleaner Model
Before you begin cleaning your vacuum cleaner, it’s essential to identify the model. Different vacuum cleaner models have specific maintenance and cleaning requirements. Knowing your vacuum cleaner model will help you understand any specific steps, tools, or accessories necessary for cleaning it safely and efficiently.
Locating the model number on your vacuum cleaner is typically straightforward. Most vacuum cleaners have the model number imprinted on a label or sticker. This is often found on the main body of the vacuum cleaner, either on the back, bottom, or sometimes inside the dustbin compartment. For example, in this YouTube video, the user demonstrates how to find the vacuum model number on their vacuum cleaner.
Once you have identified your vacuum cleaner model, you can search online for any specific cleaning instructions or precautions for that specific model. Additionally, if you still have the user manual for your vacuum cleaner, it may guide you in maintaining and cleaning your device.
After learning about your vacuum cleaner model, you can gather the necessary tools and supplies to clean it properly. Items to clean a vacuum cleaner include a microfiber cloth or sponge, dishwashing liquid, hot water, and possibly compressed air for certain models.
In summary, identifying your vacuum cleaner model is an essential first step in maintaining your vacuum cleaner. Knowing the model helps ensure you follow the correct cleaning procedures and helps maintain your vacuum cleaner’s performance and longevity.
Proper Assembly and Disassembly
Properly assembling and disassembling the equipment before cleaning the vacuum cleaner is essential to help ensure that the equipment or its components are not damaged and to guarantee a safer cleaning process.
Unplugging the Appliance
To start, always unplug the vacuum cleaner from the electrical outlet. This is a crucial safety step that prevents any electrical accidents or damage to the vacuum while you disassemble and clean it. Furthermore, turning off the vacuum before unplugging it is also a good practice for additional safety.
Detaching Elements
Next, carefully detach the various elements of the vacuum cleaner. Generally, this includes removing the hose, dustbin, or bag, and any attachments connected to the appliance. Make sure to handle these components gently to avoid any damage or breakage.
When detaching the hose, be sure to loosen the lock or clip holding the hose in place. For the dustbin or bag, follow the manufacturer’s guidelines on how to properly remove and empty it. Finally, remove any additional attachments or accessories by unlocking them from the main body of the vacuum.
Once the vacuum cleaner is disassembled, you can proceed with cleaning the individual components according to the manufacturer’s instructions or recommended cleaning practices. This may involve using dishwashing liquid, hot water, a microfiber cloth or sponge, and compressed air. Remember to be thorough in your cleaning process to maintain the efficiency and longevity of your vacuum cleaner.
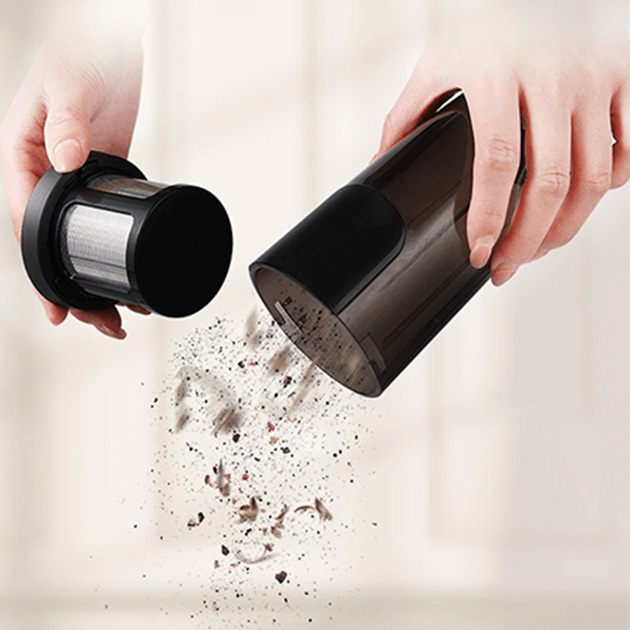
Cleaning the Dirt Collection Bin
Emptying the Bin
One of the first steps in cleaning a vacuum cleaner is to empty the dirt collection bin, which helps to maintain the vacuum’s performance and prevents any unpleasant odors. To do this, first, locate the release button on your vacuum and press it to remove the bin. Some vacuums may have a latch or a different mechanism for detaching the bin, so refer to your vacuum’s instruction manual if needed. Once the bin is removed, hold it over a garbage bag or trash bin, then open its bottom to release the dirt and debris. Be sure to close the bin properly before reattaching it to the vacuum.
Sanitizing the Bin
After emptying the bin, it’s essential to sanitize it to eliminate any bacteria and germs that may still be present. First, remove the bin from the vacuum again (if you’ve already reattached it). Using a mix of mild dish soap and warm water, gently scrub the inside of the bin with a soft cloth or sponge. Pay special attention to any gaps that can get caught in dust and debris.
For more thorough cleaning, consider using diluted bleach or a disinfectant spray, but make sure to check the manufacturer’s recommendations for compatible cleaning solutions. After scrubbing, rinse the bin thoroughly under running water, ensuring that all soap residue is gone. Finally, allow the bin to air-dry completely before reassembling it with the vacuum.
By regularly emptying and sanitizing the dirt collection bin of your vacuum cleaner, you can help maintain its efficiency and keep your home clean and fresh.
Cleaning Washable Filters
Cleaning washable filters in your vacuum cleaner is essential to maintain its efficiency and prolong its lifespan. Regular cleaning will also improve the air quality within your home by removing allergens and dust particles trapped in the filters.
To clean washable foam filters, start by mixing a cleaning solution consisting of two drops of dishwashing liquid or an all-purpose cleaner in two cups of hot water. Submerge the filter in the solution and gently squeeze it to move the cleaning solution through the pores of the foam. If the water becomes filthy, replace it with a fresh solution and continue cleaning until it remains clear.
For HEPA filters or other washable filters, you must follow the manufacturer’s instructions and recommendations. Some filters require specific cleaning agents or methods to ensure effective cleaning and avoid damaging the filter. In most cases, using cold water to rinse the filters and leaving them to air dry thoroughly before reassembling the vacuum cleaner is the suggested practice.
It’s important not to use harsh chemicals or bleach to clean washable filters, as these substances can damage the filter material and reduce efficiency. Always check the manufacturer’s guidelines for cleaning or replacing filters and adhere to their recommendations to keep your vacuum working optimally.
Remember that cleaning your vacuum filter depends on how often you use it and how tidy your home is. It’s a good idea to inspect and clean washable filters at least once a month or as needed based on the vacuum’s performance.
Cleaning Non-Washable Filters
Dusting off the Filter
When dealing with a non-washable filter, it’s crucial to clean it by dusting off the surface to remove accumulated dirt and debris. To do this effectively, start by turning off and unplugging your vacuum cleaner. Remove the filter from its housing according to the user manual’s instructions. Using a soft brush, gently brush off the dust and debris from the filter’s surface, being careful not to damage the filter material. You can also tap the filter against a hard surface, like the inside of a garbage can, to dislodge more stubborn dust particles. Once the filter is cleaned, reassemble the vacuum cleaner, ensuring the filter is set securely in its proper position.
Replacing the Filter
Regular replacement of non-washable filters is essential for maintaining your vacuum cleaner’s performance and efficiency. Check your vacuum cleaner’s user manual for guidance on how often the filter should be replaced. Typically, most manufacturers recommend replacing the filter every 3 to 6 months, depending on usage. However, this timeframe may vary based on factors such as the type of flooring and the amount of dust in your environment.
To replace the filter, first turn off and unplug your vacuum cleaner. Carefully remove the old filter, taking note of its orientation and position within the vacuum. Dispose of the used filter according to local regulations. Install a new filter, ensuring it’s correctly aligned and seated within the vacuum cleaner’s housing. Always use manufacturer-recommended replacement filters to ensure compatibility and optimal performance. After the new filter is installed, reassemble the vacuum, and it’s ready for use.
Cleaning the Brush Roll
Cleaning the brush roll of your vacuum cleaner is an essential part of maintaining its efficiency and prolonging its lifespan. First, make sure your vacuum cleaner is not plugged in and put it down to expose the bottom. You can place a towel or newspaper underneath to catch any dirt that falls out.
First, remove the brush roll according to your vacuum’s owner’s manual. Most brush rolls can be easily removed by sliding or popping them out. If your vacuum has screws securing the brush roll, use a Phillips head screwdriver to unscrew them.
Once the brush roll is removed, use a hook or straight razor to cut off any hair entwined with the bristles. Be sure to work slowly, carefully, and methodically, taking as many passes as necessary to remove all the strands of hair. Remember to cut away from yourself for safety reasons.
After removing hair and debris, inspect the bristles for signs of wear and damage. If the bristles are worn, it might be time to replace the brush roll. Otherwise, proceed with cleaning it using a mild detergent and warm water, gently scrubbing the bristles to ensure that all dirt is removed. Rinse it thoroughly and air dry completely before reassembling the vacuum.
Once the brush roll is clean and dry, place it back in the vacuum and secure it with the screws if necessary. Ensure that the brush roll spins freely and correctly before plugging in the vacuum again. By following these steps, your vacuum’s brush roll stays in excellent condition, allowing it to continue performing its best for a longer time.

Clearing Clogs in Hose
Cleaning a vacuum cleaner hose is crucial to keep your vacuum running efficiently. A clogged hose can diminish the suction power and prevent your vacuum from picking up dirt. Follow these simple steps to clear any clogs in the hose.
First, ensure that you unplug the vacuum cleaner or remove the battery if it is cordless. This is a crucial safety step that should not be overlooked. Next, detach the hose from the vacuum cleaner’s body. This may involve unscrewing the hose or simply pulling it off, depending on your vacuum model.
Once the hose is detached, visually inspect both ends for blockages. If there is an obvious clog, use a long, flexible tool like a metal hanger to dislodge and remove it. Push the tool through the hose gently to avoid damaging the hose’s interior lining.
For more stubborn clogs, you might need to use a shop vacuum to suck out the blockage. Attach the shop vacuum’s hose to one end of the clogged hose, and make sure it’s tightly sealed. Turn on the shop vacuum and let it suck out any debris.
In some cases, a mixture of vinegar and baking soda can help to dissolve minor clogs. Mix the vinegar and baking soda in equal parts and slowly pour it into the hose. Allow the mixture to fizz and work on the blockage for a few minutes before rinsing it out with warm water.
After clearing any clogs, it is essential to rinse the hose thoroughly with warm water. This will ensure that any residue or remaining debris is removed. Finally, let the hose dry completely before reattaching it to the vacuum cleaner. This is important as moisture can cause mold and mildew growth in the hose, leading to unpleasant smells and potential health risks.
By taking these steps, you can confidently and effectively clear any clogs in your vacuum hose, ensuring optimal performance and a cleaner home.
Maintaining the Belt
One crucial aspect of maintaining a vacuum cleaner is taking care of its belt. A well-functioning belt ensures that your vacuum cleaner operates efficiently and lasts long. In this section, we will discuss a few essential tips on how to maintain the belt.
Firstly, make it a habit to check the belt regularly for wear and tear. For optimal performance, it is recommended to replace the vacuum cleaner belt every six months to a year, depending on the usage. If the belt appears cracked, stretched, or frayed, it is time to replace it.
To replace the belt, it is crucial to turn off and unplug the vacuum cleaner before starting. By removing the bottom plate of the vacuum cleaner, you can access the belt. Take note of the belt’s position around the motor shaft and brush roll before removing the old belt. After removing the old belt, gently wipe the area around the motor and brush with a dry cloth to remove any debris or dust.
Once the area is clean, install the new belt by looping it over the motor shaft and brush roll, ensuring its proper alignment. Carefully replace the bottom plate and ensure all screws are securely tightened.
In addition to replacement, it is essential to keep the belt and its surrounding area free from debris and obstructions. Regularly inspect the belt for any objects that might be stuck, which might hinder its performance. A helpful tip is to gently clean the brush roll with a brush or seam ripper to remove any trapped hair or fibers.
Maintaining the belt of your vacuum cleaner is a simple and effective way to ensure that your appliance operates at its peak efficiency and prolongs its lifespan. By regularly checking the belt for wear and tear, keeping it free from debris, and replacing it as necessary, you can keep your vacuum cleaner in top-notch condition.
Reassembly
Once you have thoroughly cleaned your vacuum cleaner, it’s time to reassemble it. Follow these steps to ensure the process goes smoothly and efficiently.
First, begin by attaching the brush rollers back into their respective slots. Make sure to align them properly and snap them in place securely. If the brush rollers have belts, ensure that they are reattached to the motor pulleys correctly.
Next, replace the filters, whether they are washed or changed. For washable filters, make sure they are completely dry before reinstalling them to avoid musty odors or poor performance. Disposable filters should be replaced with new ones that meet the vacuum cleaner’s specifications.
After reinstalling the filter, reattach the hose and any other disconnected parts. Double-check all connections and ensure they are properly secured. This will help maintain your vacuum cleaner’s performance and prevent any loss of suction during use.
Finally, close and secure the dust cup in its designated area on the vacuum cleaner. Again, make sure it’s tightly sealed to prevent any dust or debris from escaping during operation.
When you complete these steps, your vacuum cleaner is ready to be used again. If you experience any problems or difficulties during the reassembly process, consult your vacuum cleaner owner’s manual for guidance or contact the manufacturer’s customer support for assistance.

Safety Considerations
When cleaning a vacuum cleaner, it is essential to keep safety in mind. First and foremost, always unplug the vacuum before performing any maintenance to prevent electrical shock and accidents. In addition, follow these safety tips to ensure a safe and effective cleaning process:
- Avoid vacuuming wet surfaces: Vacuuming damp surfaces can potentially damage the motor and pose a risk of electrical shock. Vacuum cleaners are typically designed for indoor use and dry surfaces, so always make sure the area you are cleaning is dry before using the vacuum.
- Handle sharp objects with care: When cleaning the vacuum cleaner brush roll, there may be sharp objects or debris in the bristles. Use scissors or other cutting tools to remove them safely, but be careful not to accidentally cut the mane or injure yourself.
- Use compressed air properly: To clean dusty surfaces and remove buildup in hard-to-reach areas, you can use compressed air. Make sure to follow the manufacturer’s instructions on using compressed air safely and effectively.
- Inspect the vacuum regularly: Perform regular checks of the vacuum cleaner, including the cord, plug, and filters, to ensure they are in good working condition. Replace damaged parts as needed to maintain the vacuum’s performance and prevent potential accidents.
By following these safety considerations, you can take care of your vacuum cleaner while ensuring a safe and efficient cleaning process.